
Getting an energy rebate shouldn’t feel like you’re doing a tax return. In New South Wales, the government is practically […]
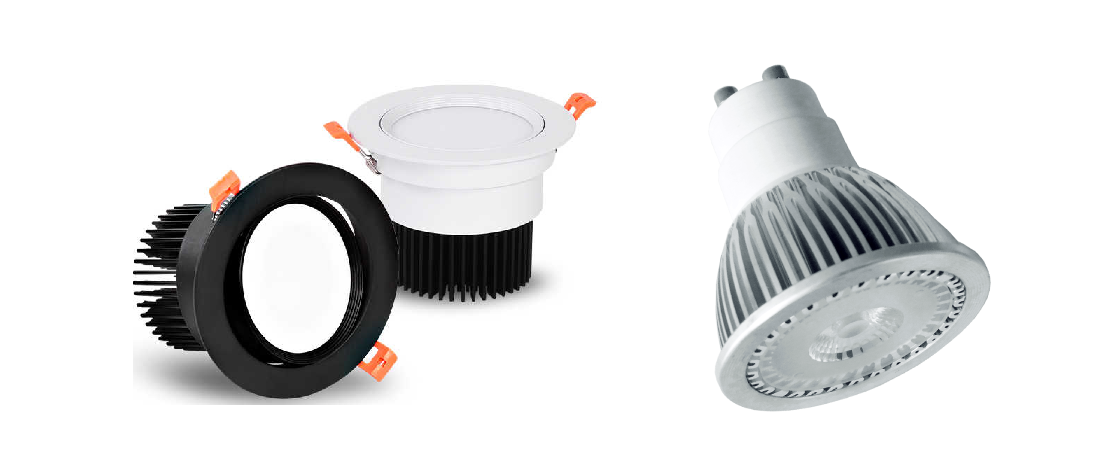
The term “downlight” may refer to a variety of ceiling-mounted lighting fixtures; it can signify a “recessed light,” a “pot light” in Canadian English, or even what is called a “can light” when referring to canister lights.
Due to its fixation, the light shines downward from a hole in the ceiling, creating the illusion of either a narrow spotlight or a broad floodlight.
The recessed light fixture is generally made of a housing, trim, and bulb. The visible portion of the light is called the trim.
Looking inside the light fixture reveals the insert, and a thin line encircles the lamp’s perimeter.
The fixture’s housing contains the light holder and is fixed to the ceiling. One important consideration when choosing a bulb for a recessed lighting system is the amount of heat it produces.
Basic Concept: A recessed light is installed flush with the ceiling surface, creating a clean, minimalist appearance. Unlike traditional hanging fixtures, the entire light assembly sits above the ceiling line, with only the light opening and trim ring visible from below.
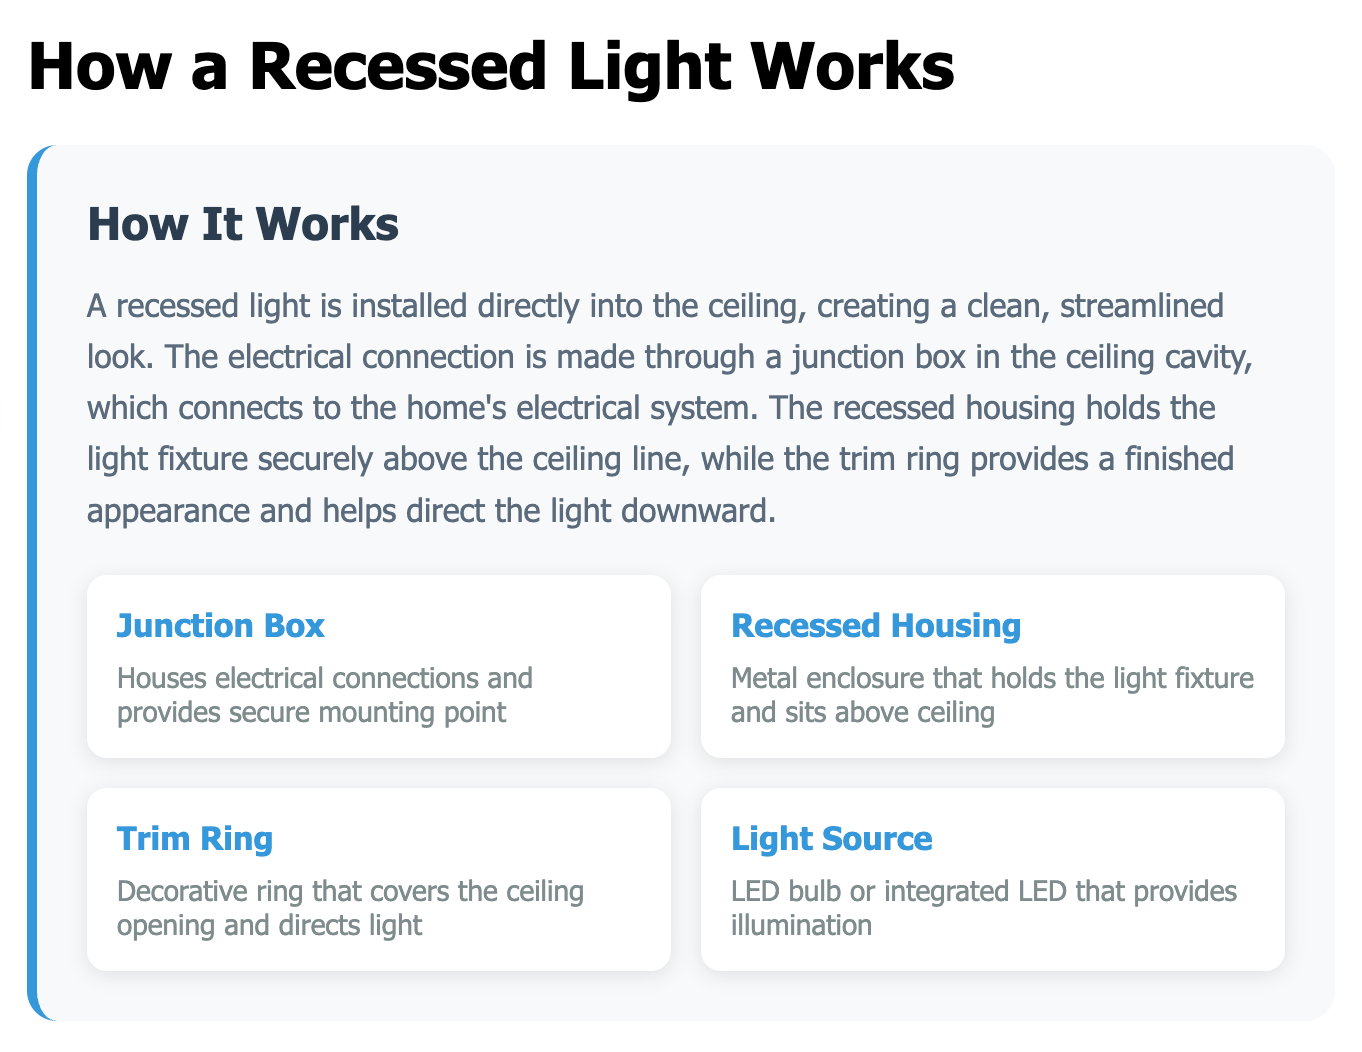
Junction Box – This houses all the electrical connections and serves as the secure mounting point for the entire fixture. It connects the recessed light to your home’s electrical system through wiring that runs through the ceiling cavity.
Recessed Housing – This is a metal enclosure that contains and protects the actual light fixture. It sits entirely above the ceiling line in the space between floors or in the attic area, keeping all the electrical components hidden and secure.
Light Source – Modern recessed lights typically use LED bulbs or have integrated LED systems. These provide the actual illumination and are designed to direct light downward through the ceiling opening.
Trim Ring – This decorative component serves two purposes: it provides a finished, polished look around the ceiling opening, and it helps focus and direct the light beam downward into the room.
How It All Works Together: The electrical connection runs from your home’s wiring system to the junction box, which then powers the light source housed within the recessed housing.
The light shines down through the ceiling opening, with the trim ring helping to control the light distribution and provide an aesthetically pleasing appearance.
This design creates ambient lighting that doesn’t protrude into the room space, making it ideal for rooms with lower ceilings or where a clean, uncluttered look is desired.
When designing a lighting plan for a home, one of the most popular and versatile options to consider is recessed LED ceiling lighting. Recessed LED downlights provide ambient illumination and task lighting in an unobtrusive, stylish manner.
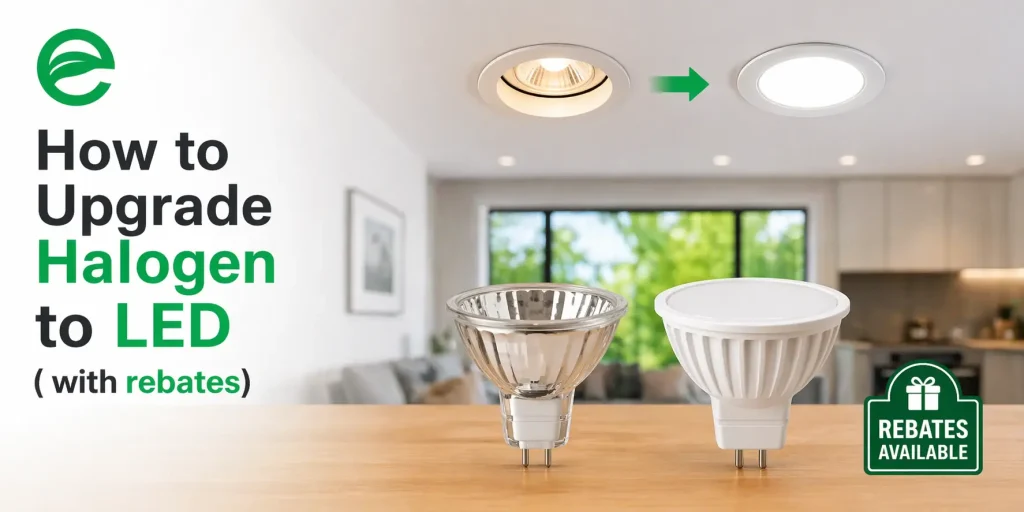
Compared to traditional incandescent and halogen recessed lighting, modern LED downlights offer significant advantages that make them a top choice for residential settings.
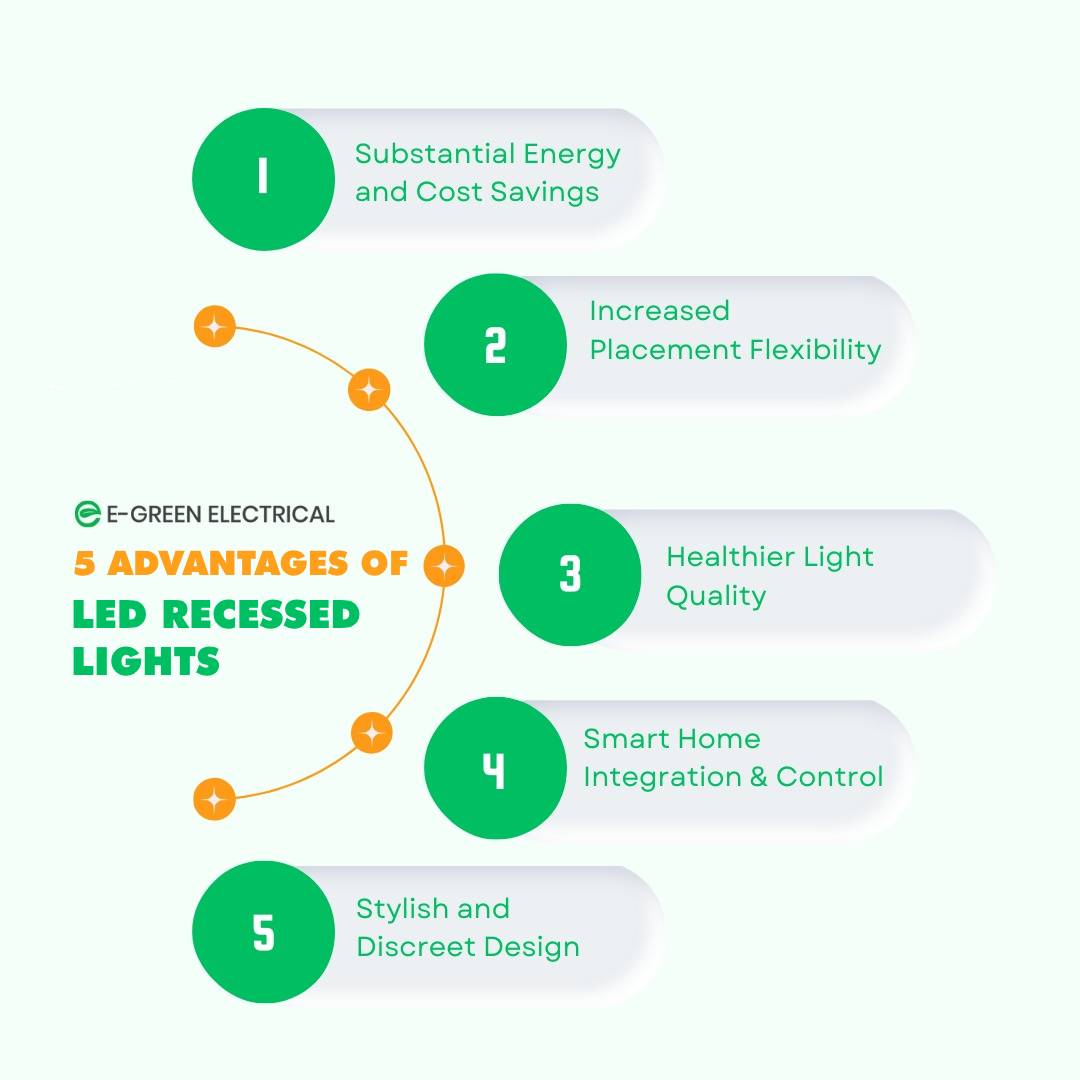
Five key benefits are driving the increasing popularity of LED recessed lighting for homes.
One of the biggest advantages of recessed LED ceiling lights is their energy efficiency and long-term cost savings compared to traditional incandescent and halogen lighting, according to a comprehensive study by the U.S.
Department of Energy (DOE), LED lights consume at least 75% less energy than incandescent bulbs and last 3 to 25 times longer, depending on use and operation. This adds up to provide significant cost savings over the lifetime of the LED fixture.
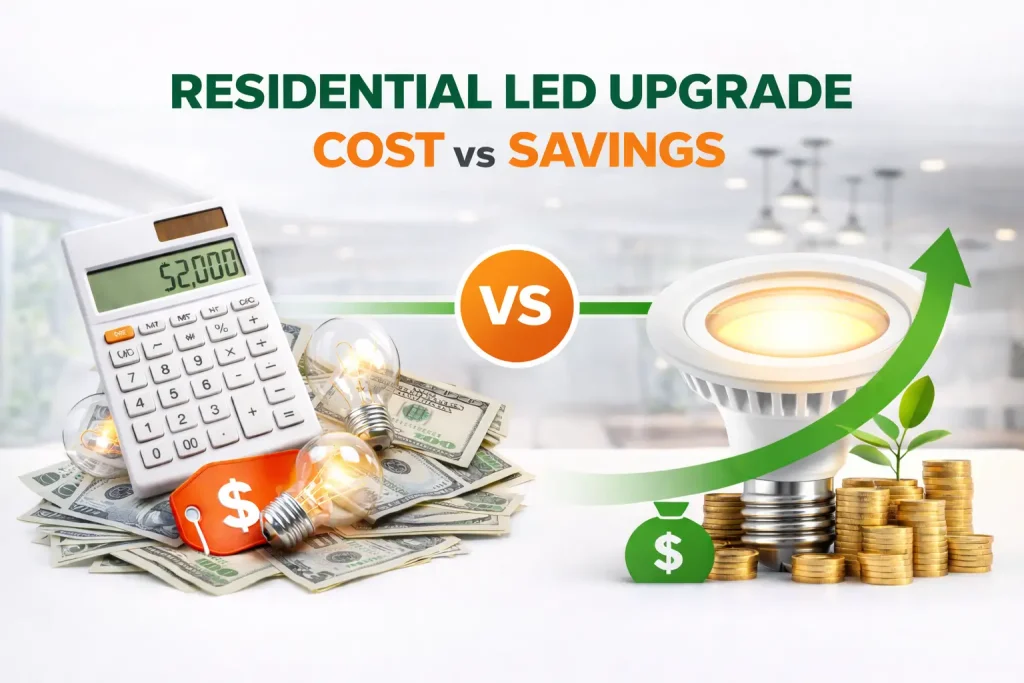
For example, replacing a single 60W incandescent bulb used for 3 hours per day with a comparably bright 14W LED bulb could save around $125 in energy costs over the LED’s 50,000-hour lifetime.
For a household with 20 recessed downlights, switching to LEDs can save up to $2,500 in electricity over a decade, according to DOE estimates.
The higher upfront cost of LED recessed lighting is recouped within a period of 1-2 years for most homes, depending on the scale of the replacement and the price of electricity.
Beyond electricity savings, using LED recessed lighting reduces maintenance costs, too.
The long 50,000+-hour lifespan of LED bulbs means homeowners won’t have to frequently replace them as they would with 1,000-hour incandescent bulbs.
Changing hard-to-reach burnt-out bulbs is a headache, so the convenience of LEDs that essentially last for decades is a major perk for homeowners.
Recessed LED downlights are much more flexible in terms of positioning compared to the older halogen and incandescent can lights. Traditional recessed lighting emits substantial heat, restricting installation in enclosed spaces due to fire hazards and installation issues like melted insulation.
LED recessed lighting, on the other hand, produces minimal heat, allowing for installations in unconventional spaces and grooves like shelving, display cases, furniture undersides, and enclosed cabinets without worry.
Their compact, lightweight size also allows them to fit into tight spaces inaccessible to bulkier incandescent cans.
With advanced recessed LED lighting, homeowners can highlight architectural details, illuminate artwork in creative ways, and provide task lighting in areas difficult to wire. The U.S. DOE states that recessed LED fixtures are even being installed in stair risers, cabinets, and toe kicks for ultra-flexible lighting.
This flexibility in installing LED recessed lighting gives homeowners more options for unique and artistic lighting designs.
Studies by the Lighting Research Centre (LRC) have found that the light emitted by LED bulbs is superior in quality and healthier for the human eye compared to incandescent and fluorescent light sources.
LEDs emit a more diffuse, omnidirectional light that reduces uncomfortable glare. This makes LED recessed lighting ideal for ambient illumination in living spaces, kitchens, and work areas where glare could cause eye strain.
Researchers have also found that the white light created by LEDs offers a more balanced and natural colour spectrum compared to fluorescents.
This better mimics natural daylight and provides more accurate colour rendering to help visualise the colour and appearance of items and elements accurately in indoor settings.
The LRC states that quality LED lighting enhances visual acuity, reduces headaches, and improves mood and cognitive performance.
Unlike fluorescents, which take time to warm up, LEDs achieve full brightness immediately without any flickering or humming.
This instant-brightness output and silent operation make recessed LED downlights the perfect hassle-free lighting for bedrooms, reading nooks, and other living areas.
Many modern recessed LED downlights are available with integrated Wi-Fi or Bluetooth connectivity, allowing homeowners to control these lights via smartphones and home assistants like Alexa.
Using smart LED lighting, it’s possible to set custom light schedules, automate away-mode settings, and control brightness levels for certain times of the day and for different areas of the house.
Smart LED recessed lighting gives homeowners greater control over their living environment.
For example, homeowners can simulate sunrise by programming recessed lights to gradually increase their brightness levels before waking up. Colour-changing LED bulbs can also be controlled to produce a relaxing ambience at night or an energising atmosphere in the morning.
According to a survey by the American Lighting Association, integrated lighting control using recessed LED fixtures is becoming a popular choice among homeowners.
It gives the flexibility to manipulate and customise different lighting presets for cooking, reading, working, or entertaining. The flexibility of smart LED recessed lighting gives it a great advantage over conventional lighting.
Recessed LED downlights come in a range of compact, low-profile designs that blend seamlessly into any home decor. Their recessed nature gives an unobtrusive built-in look that is greatly appreciated by many interior designers compared to more visible surface-mount fixtures.
For contemporary homes, LED recessed lighting provides a clean, minimalist and stylish appearance.
The availability of colour-changing LEDs, vintage filament styles, and interactive lighting scenes opens up creative design possibilities as well. Homeowners can use smart recessed lighting to not only illuminate a space but also make it more visually attractive.
Compared to older fluorescent and incandescent recessed cans, which can appear industrial and harsh, modern recessed LED fixtures have a more design-friendly appearance.
Their small size allows them to be installed in grid-like patterns across ceilings to give a futuristic look. For traditional homes, LED recessed lighting can deliver much-needed task lighting in a subtle, integrated way.
In summary, recessed LED downlights are an increasingly popular option for energy-efficient, customizable, and stylish residential lighting.
Offering multiple benefits including substantial electricity savings, flexible placement, improved light quality and control, and discreet aesthetics, LED recessed lighting outperforms older fixture designs.
As the technology continues advancing, LED recessed fixtures will likely become the dominant choice for ambient and task lighting in most homes.
You don’t need a central light source like recessed wall lights or separate LED uplights to illuminate a room from below. By casting a soft, continuous light that may reach under surfaces and into hard-to-reach places, linear lights can be used to create varied outcomes.
The security and quality of recessed lights are unmatched, and they will allow you to save money and energy. They also produce less heat, provide you with more space and give the impression of more room.
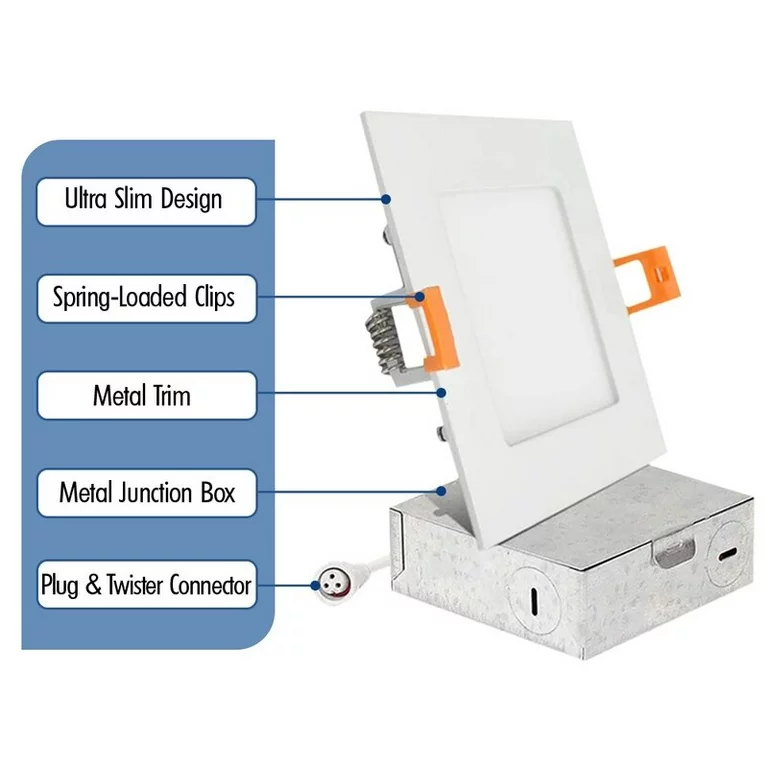
The 90 mm cutout is the standard for downlights.
A 70-75 mm cutout will provide a more streamlined look, but it will be more challenging to install since your electrician will have difficulty getting their hand inside the hole to connect it.
Those with integrated LED drivers will have a 240V rating and can be hooked up straight to the 240V electrical supply.
Any LED light that doesn’t have an internal driver—also known as a low-voltage light—will have a voltage rating of 12V or 24V and will need an additional LED driver or controller attached to the 240V power source.
In conclusion, the benefits and flexibility of this lighting system uncover a myriad of opportunities for enhancing spaces via improved efficiency and visual appeal.
Whether you’re seeking energy savings, a lively atmosphere, or a positive atmosphere, this solution is a great option.
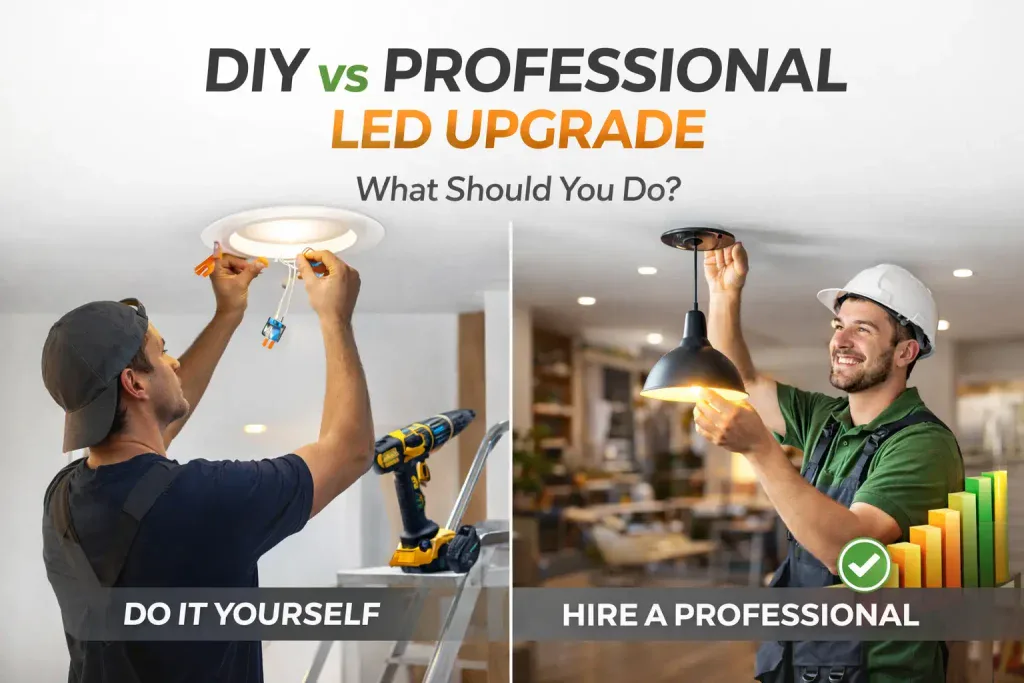
To ensure a seamless transition to a more efficient and brighter future, it is recommended to contact competent professionals who can provide detailed information about the potential of this lighting innovation and proceed with the installation process to get the most out of this game-changing lighting solution.
Getting an energy rebate shouldn’t feel like you’re doing a tax return. In New South Wales, the government is practically […]
Electricity prices in some Australian states are rising to over 40 cents per kWh, and we are all busy now […]
Did you know that around 10% of your household electricity budget goes to lighting? It’s such a huge bill that […]
So, you are fed up with the old light bulbs that keep flickering, increasing your electricity bills, and failing when […]


Our energy efficiency experts are here to answer all your questions and guide you through the products, rebates, and installation process.

Upgrade now and pay later with the Home Energy Saver Program ![]()