
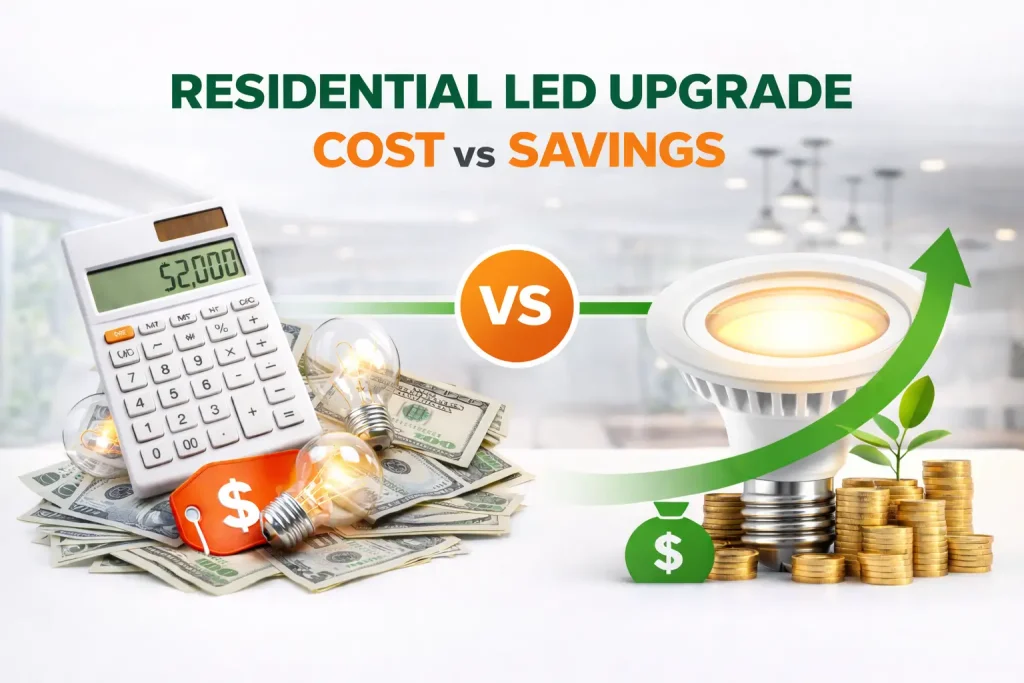
Electricity prices in some Australian states are rising to over 40 cents per kWh, and we are all busy now […]
How does it feel walking through your home and noticing the mismatched bulbs? Those flickering tubes in the garage or a hot halogen in the kitchen? It’s a bit frustrating, right?
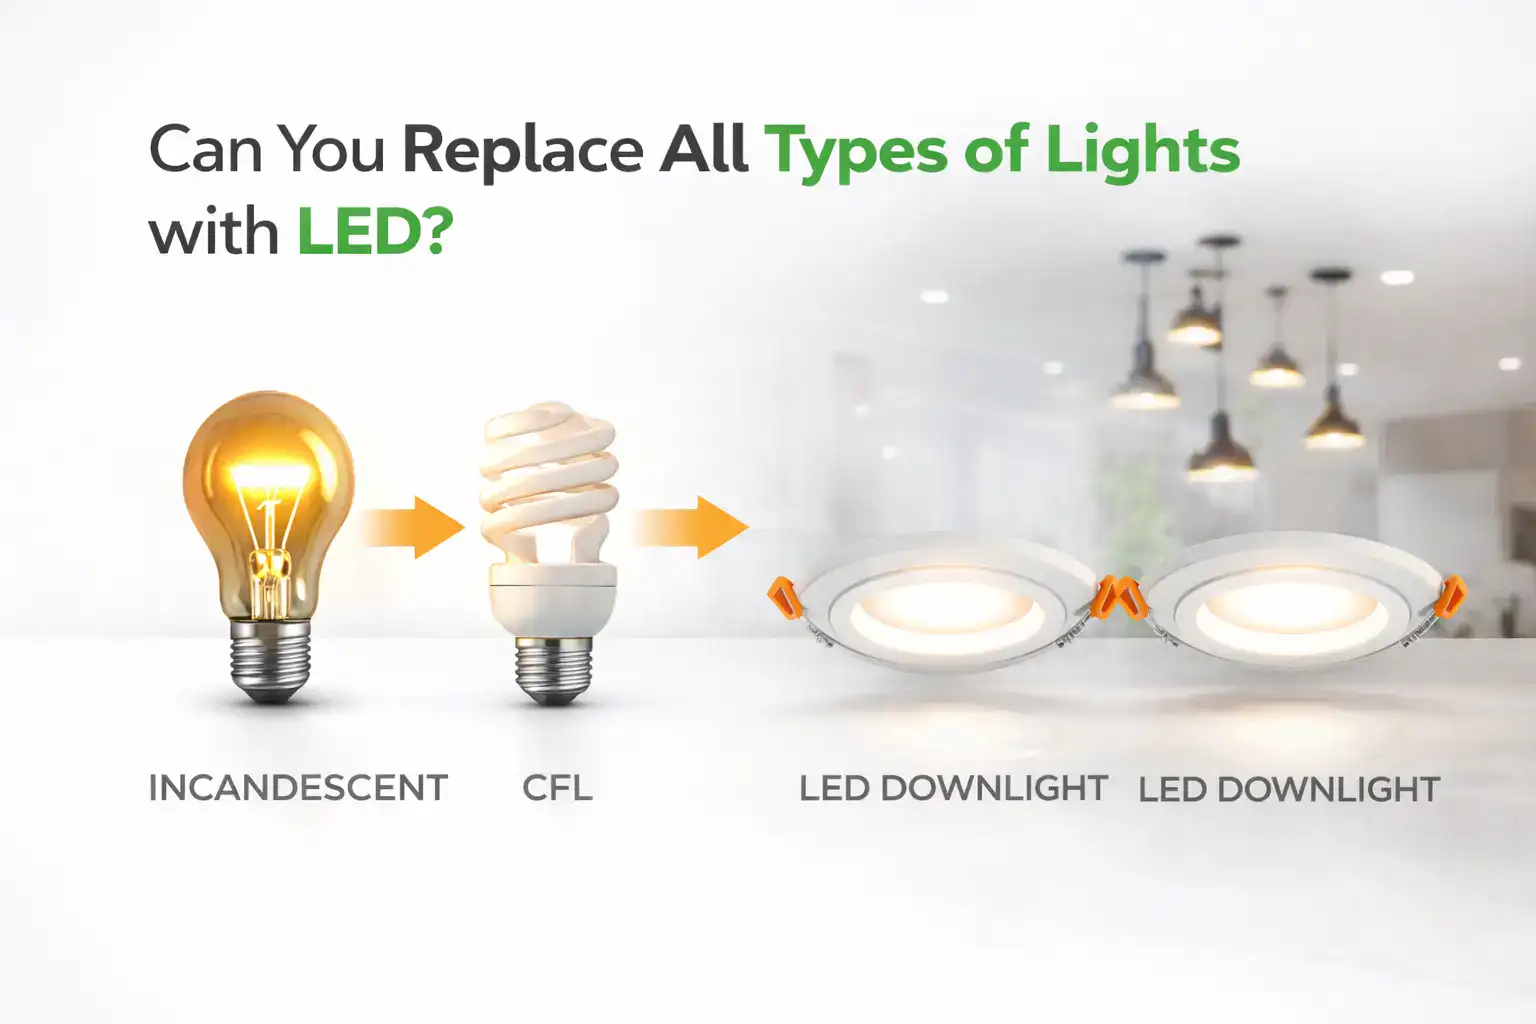
You might have stared at them, wondering if a total LED swap is even possible.
Yes! For nearly every fixture in a standard Australian home, there is a modern LED alternative.
Making the switch is a win for your wallet and keeps your living spaces much cooler during those brutal summer months.
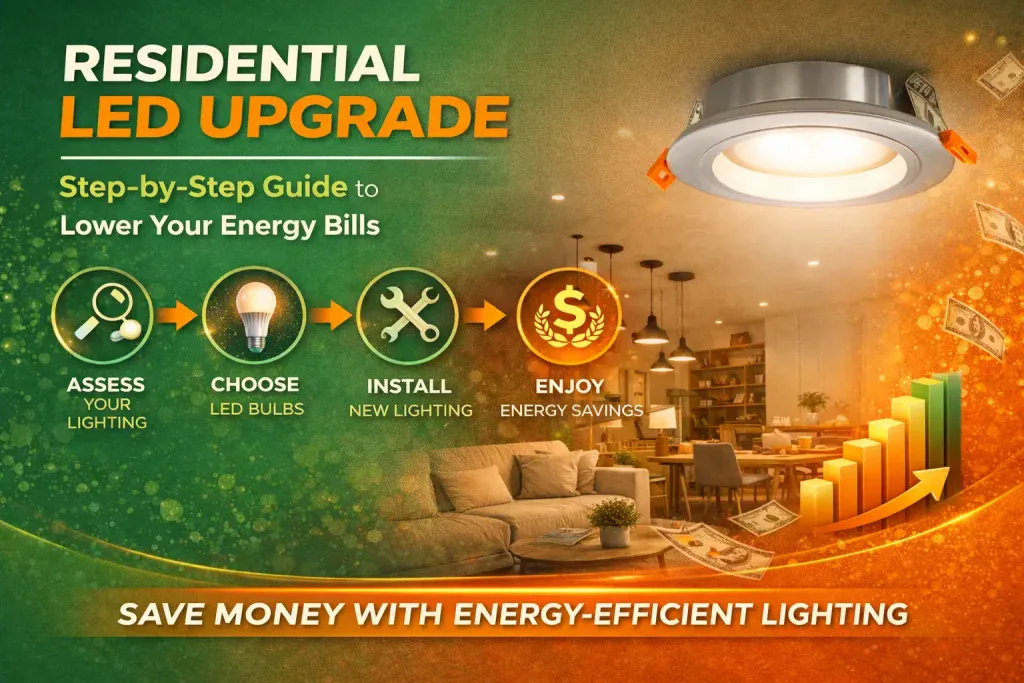
We can break the transition into three groups. Some bulbs are simple to swap in seconds. Others need a quick check of your existing hardware. Then, there are the complex fixtures that might need a professional hand.
These are the easiest wins. You can pick these up at any local hardware shop and handle the swap yourself without any special tools.
These are the old-school glass pear bulbs with the wire filament. They are incredibly inefficient.
They waste about 90% of their energy as heat. Since they run on standard 240V power without any extra gear, they are a breeze to replace. The new LED versions fit the same sockets, so you won’t have to change your light fittings.
To get it done, follow these steps:
CFLs are those curly, spiral tubes that were the “go-to” energy savers for a while. They served their purpose, but they contain mercury and take a long time to reach full brightness. They are simple to swap because they were designed as direct replacements for standard sockets. LEDs are a massive upgrade because they turn on instantly.
When you’re ready, here is the way to handle it:
Think about those small candle bulbs in a chandelier or the round “golf ball” lights in a bathroom mirror. These are very easy to swap. Manufacturers now make LED “filament” styles that look just like the old glass versions. You keep the classic look while saving a heap of power.
You should follow these steps:
These lights can be replaced with LED, but not always directly. You need to check compatibility first. They often rely on older tech like dimmers or transformers that might not work fine with low-power LEDs.
Halogens are often found in small downlights. They get hot enough to burn your fingers and are harder to replace because they usually run on 12V power through a transformer hidden in your ceiling. If that transformer has a “minimum load,” a tiny LED might not draw enough power to keep it running steadily.
So, before you buy a whole box, try this:
If your wall switch has a slider or a knob, you are using a dimmable circuit. These systems can be problematic with LED lighting. Standard LEDs are not designed for older dimmers, so they often flicker, buzz, or fail to dim properly.
To keep the mood right without the noise, try this:
This includes garden path lights or strips under your kitchen cabinets. They are harder to replace because the power packs might put out AC or DC power. If the power type doesn’t match the bulb, the LED won’t last long. To get it right, check these points:
These are bulbs trapped inside a sealed glass bowl or a vapor-proof fitting. They are hard to replace because LEDs hate heat. In a sealed box, that heat builds up and can fry the bulb’s internal circuit board.
To avoid wasting money, keep this in mind:
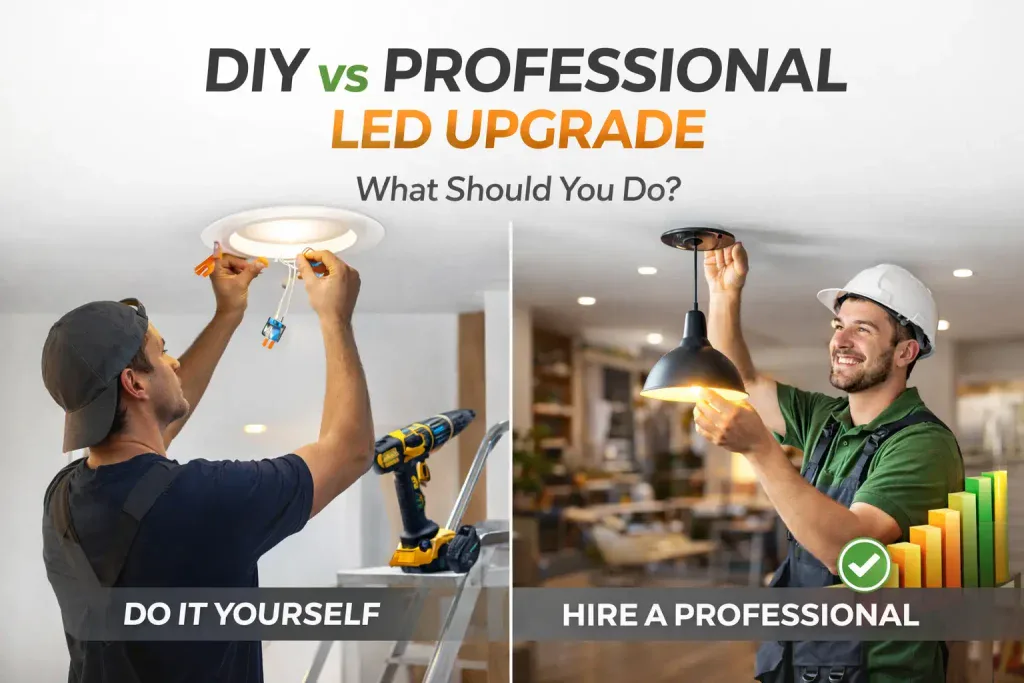
In these cases, you are doing more than just changing a bulb. You are changing how the light gets its power.
Those long tubes in the garage use a “ballast” to control the electricity. They are complex because you can’t just pop an LED tube in without knowing your ballast type. If you get it wrong, the tube might not light up at all.
To do this correctly, follow these steps:
Modern designer lamps often have the LED chips built right into the frame. There is no bulb to unscrew. This means you have to look at the internal parts if things go dark. If a single chip fails, the whole light usually stops working.
Here is how to handle it:
These are those massive, bright floodlights. They are complex because the old gear uses very high voltages that would destroy a standard LED instantly. Replacing these usually means a total rethink.
For the best result:
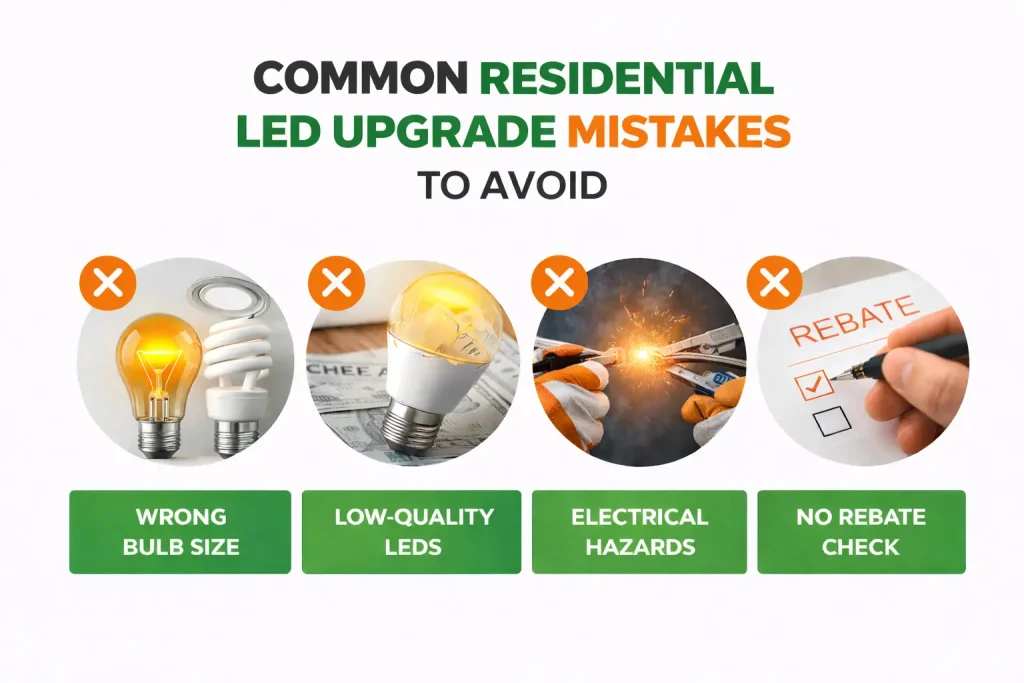
This is the main step to avoid wasting money. LEDs are often bigger than old bulbs because they need room for cooling fins. If they don’t fit, they won’t last.
To get the right fit:
Old electrical parts and new LED tech don’t always speak the same language. The low power draw of an LED can confuse old gear made for power-hungry halogens. To ensure a steady light:
Heat is the number one killer of LEDs. It ruins the electronics in the base. This can turn a long-term investment into a short-term mistake. To protect your bulbs:
The feel of a room depends on the color of the light. Getting it wrong can make a bedroom feel like a sterile lab. To pick the right vibe:
You can replace almost every light in your home with an LED, but the path depends on the fixture. Standard screw-in bulbs and CFLs are simple, direct swaps for anyone.
Projects like halogens or dimmable lights need a quick check of your hardware to avoid flickering. The most complex upgrades, like fluorescent tubes or designer lights, usually need a bit of wiring or a total fixture replacement.
By matching your lumens and paying attention to heat, you can avoid the biggest pitfalls. Every light can be an LED. It just depends on the design of the fixture and how much effort you want to put into the gear behind the bulb.
Only if the box says “Plug-and-Play” (Type A). These are made to handle the high voltage from an old fluorescent ballast. If you bought “Ballast Bypass” (Type B) bulbs, you have to rip that ballast out and wire the fixture straight to the mains. Plugging a regular LED into a ballast usually ends in a flickering mess or a dead bulb.
For sure, they do. However, they don’t fail suddenly like traditional bulbs. Instead, they gradually lose brightness over time, a process known as lumen depreciation. Heat is the main cause. When temperatures rise, the light output reduces more quickly. Most people only notice this when the room becomes visibly dim.
Not often. You’re looking at 25,000 to 50,000 hours for most decent brands. If you run them for 8 hours every night, that’s about 10 to 15 years. Since there’s no filament to break, they rarely “burn out” in the traditional sense. You’ll likely swap them for a newer style before they actually die.
Red LEDs are the easiest to power, usually needing only 1.8V to 2.2V. As you go toward blue or white, the energy requirement jumps up. White LEDs typically need 3.0V to 3.4V just to turn on.
Look for an LED between 13W and 16W. The real number you want is 1,600 lumens. That’s the actual brightness of an old 100W bulb. If the LED package says 1,600lm, you’re good to go.
No, it’s actually worse. Higher wattage just means the light is consuming more power from your wall. You want the most lumens for the fewest watts. A high-quality LED gives you massive brightness while keeping the wattage low to save you money on your power bill.
The actual LED chips run on DC (Direct Current). But since our homes use AC (Alternating Current), every bulb has a tiny “driver” hidden in the base. This little piece of tech converts the power so the light stays steady without humming or flickering.
Electricity prices in some Australian states are rising to over 40 cents per kWh, and we are all busy now […]
Did you know that around 10% of your household electricity budget goes to lighting? It’s such a huge bill that […]
So, you are fed up with the old light bulbs that keep flickering, increasing your electricity bills, and failing when […]
Almost every household in Australia is now looking into a residential LED upgrade. And honestly, it’s easy to see why. […]
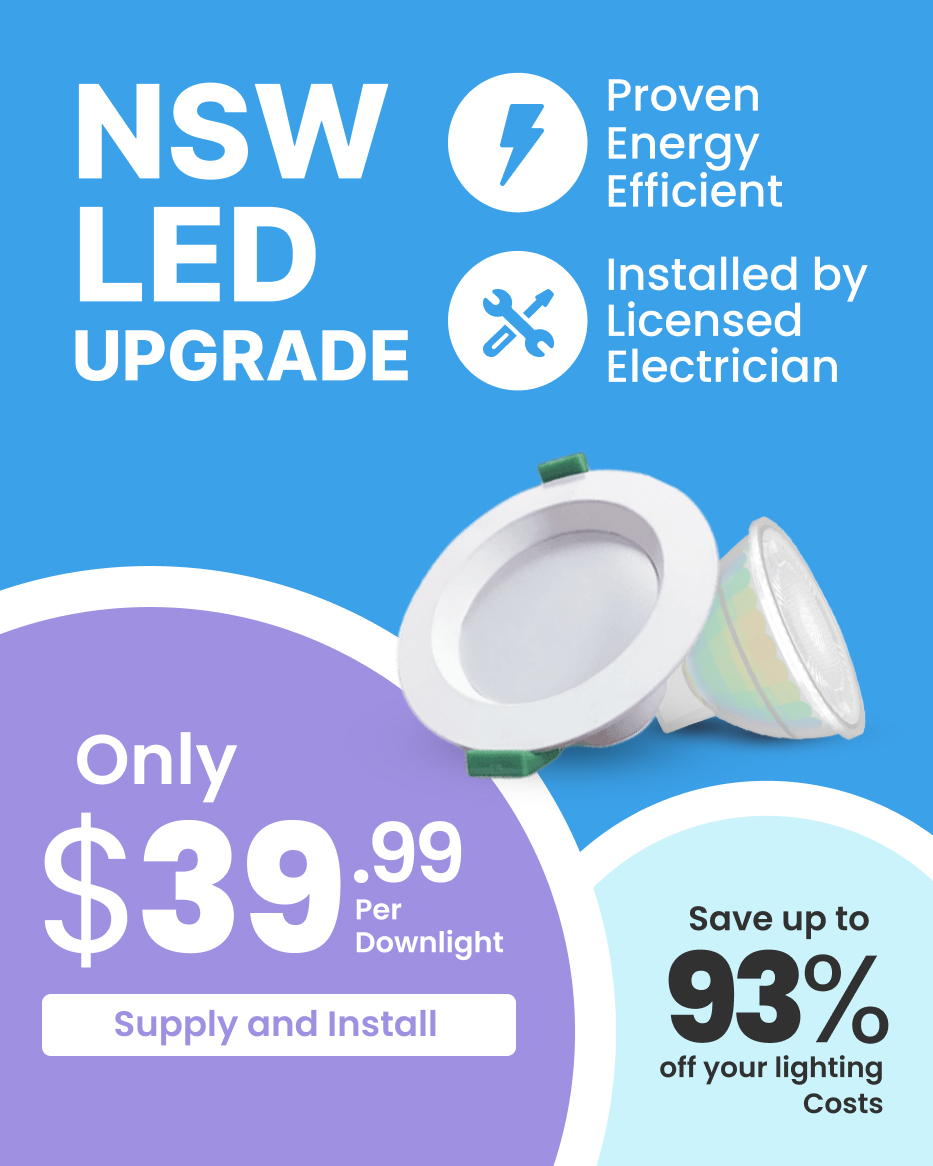
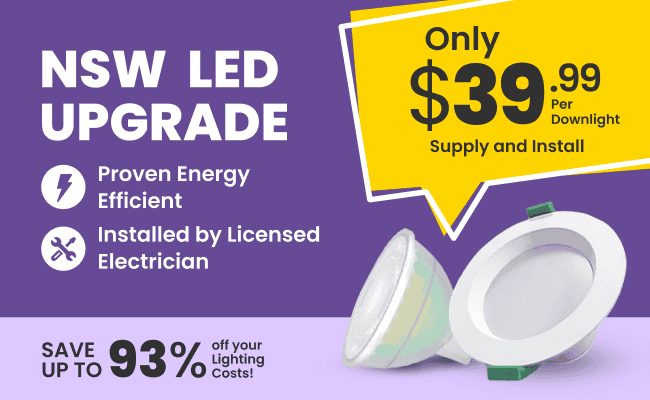


Our energy efficiency experts are here to answer all your questions and guide you through the products, rebates, and installation process.

Upgrade now, pay later with ![]()