
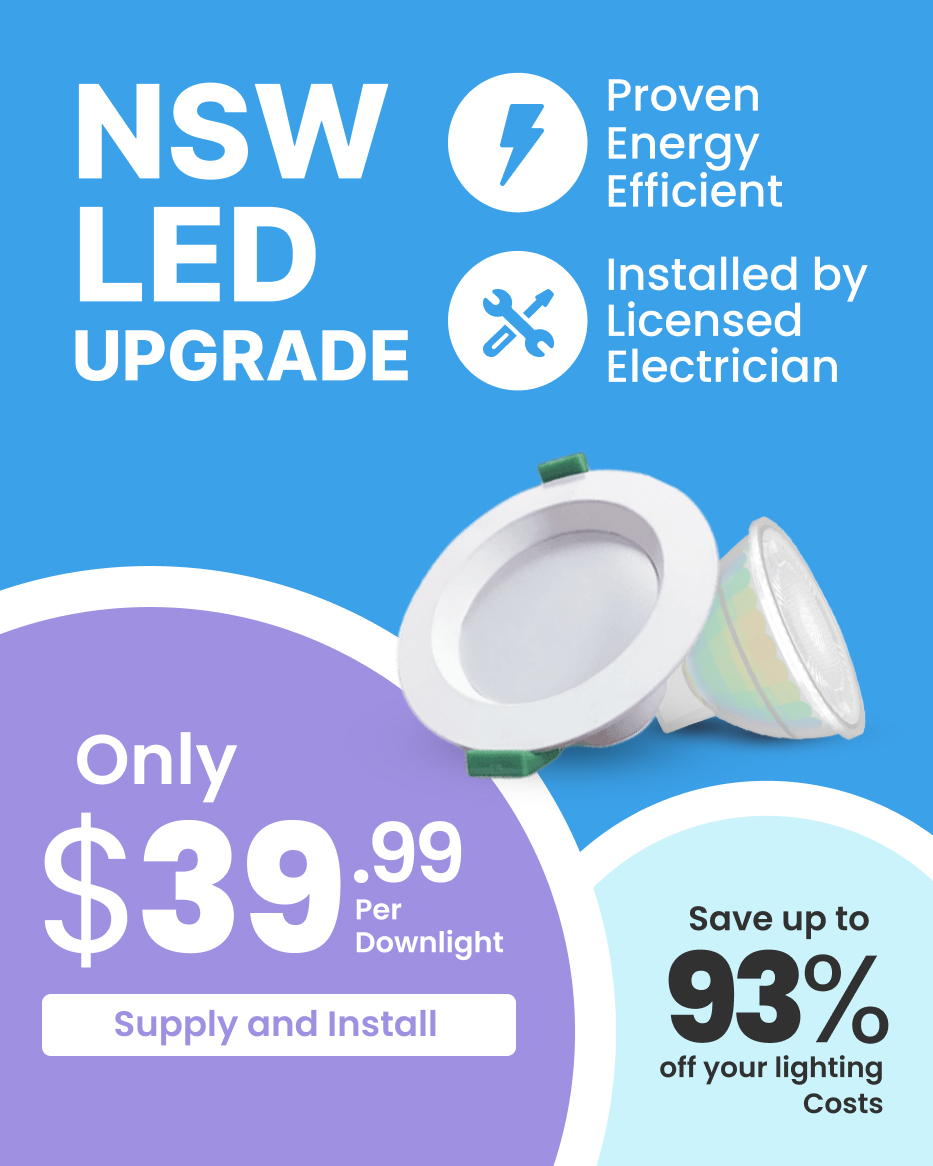
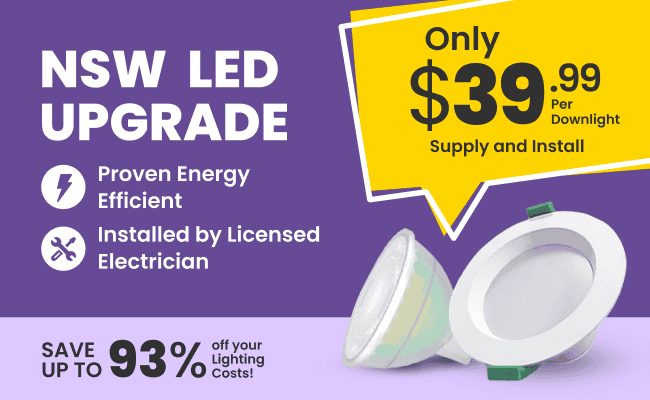
Electricity prices in some Australian states are rising to over 40 cents per kWh, and we are all busy now […]
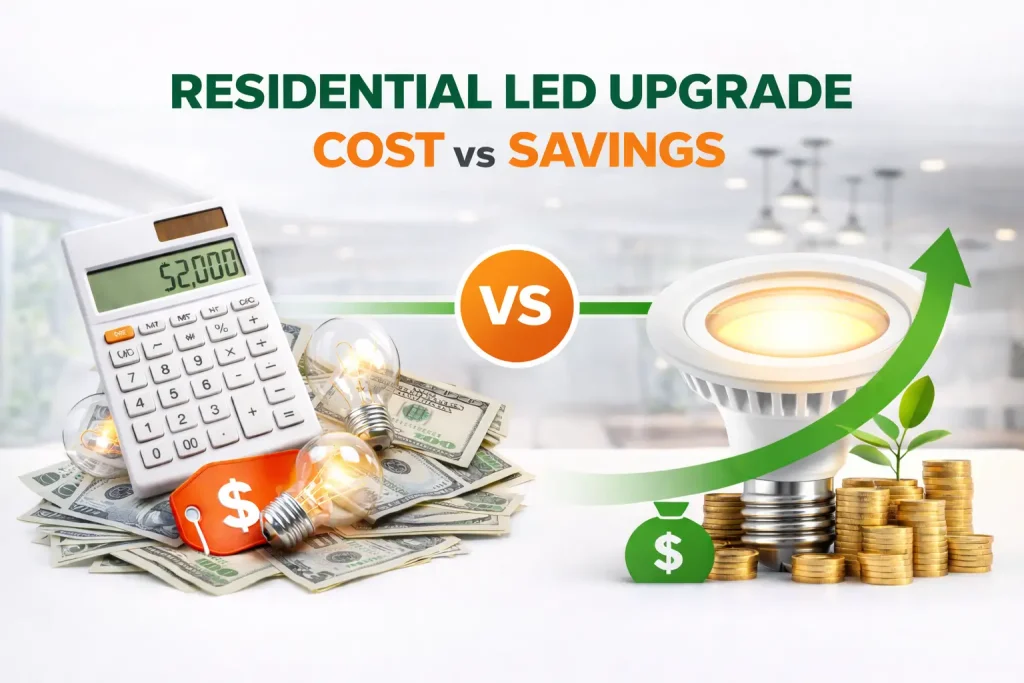
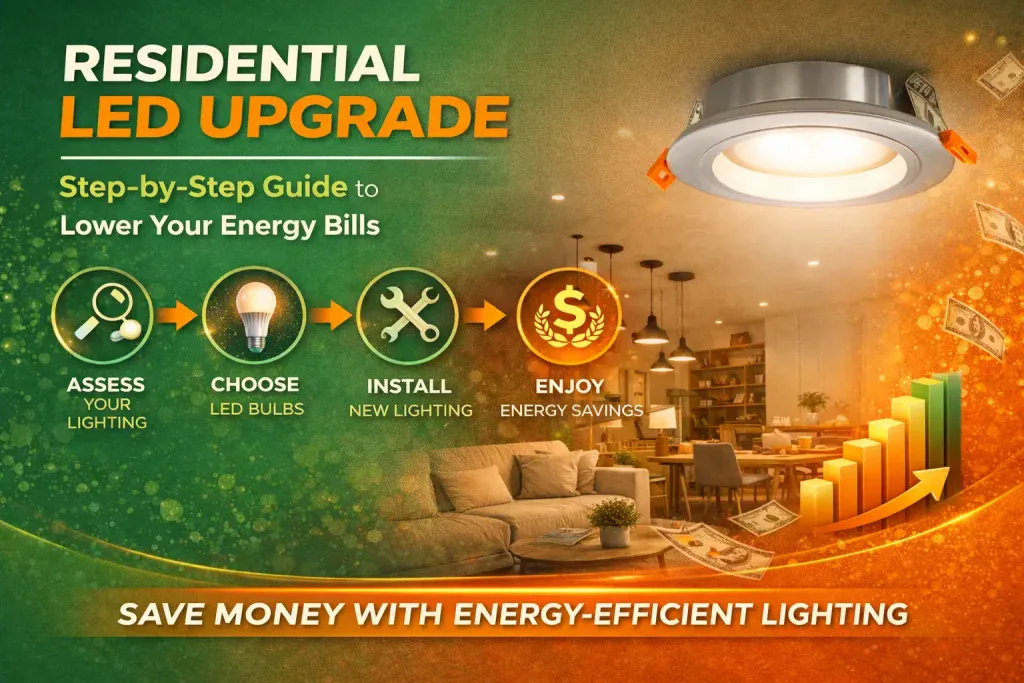
Did you know that around 10% of your household electricity budget goes to lighting? It’s such a huge bill that we’d all want to bring down, but how can you do that? The answer is upgrading to LED lights.
LED lights can reduce your lighting energy bill by up to 75% compared to halogens and save your light replacement costs by up to 5 to 10 times.
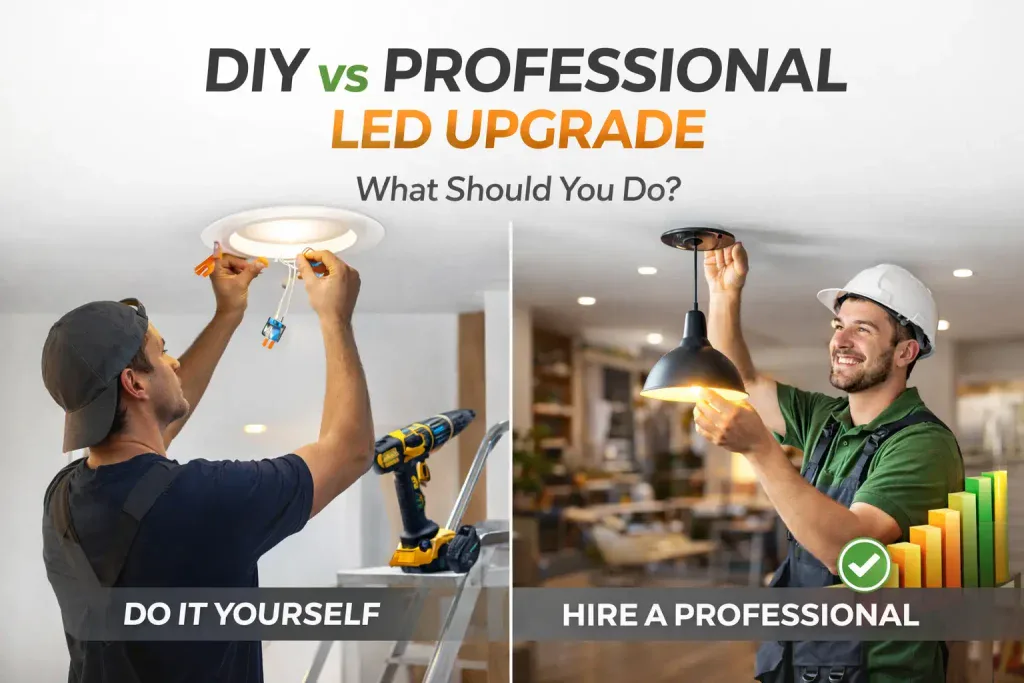
This upgrade is non-negotiable if you want to save; however, it is remarkably easy to get wrong if you just buy any LED lights you see on the shelf.
Most people think a light is just a light. In reality, a successful residential LED upgrade involves a lot of hidden technical factors that can cause real headaches if you aren’t keen.
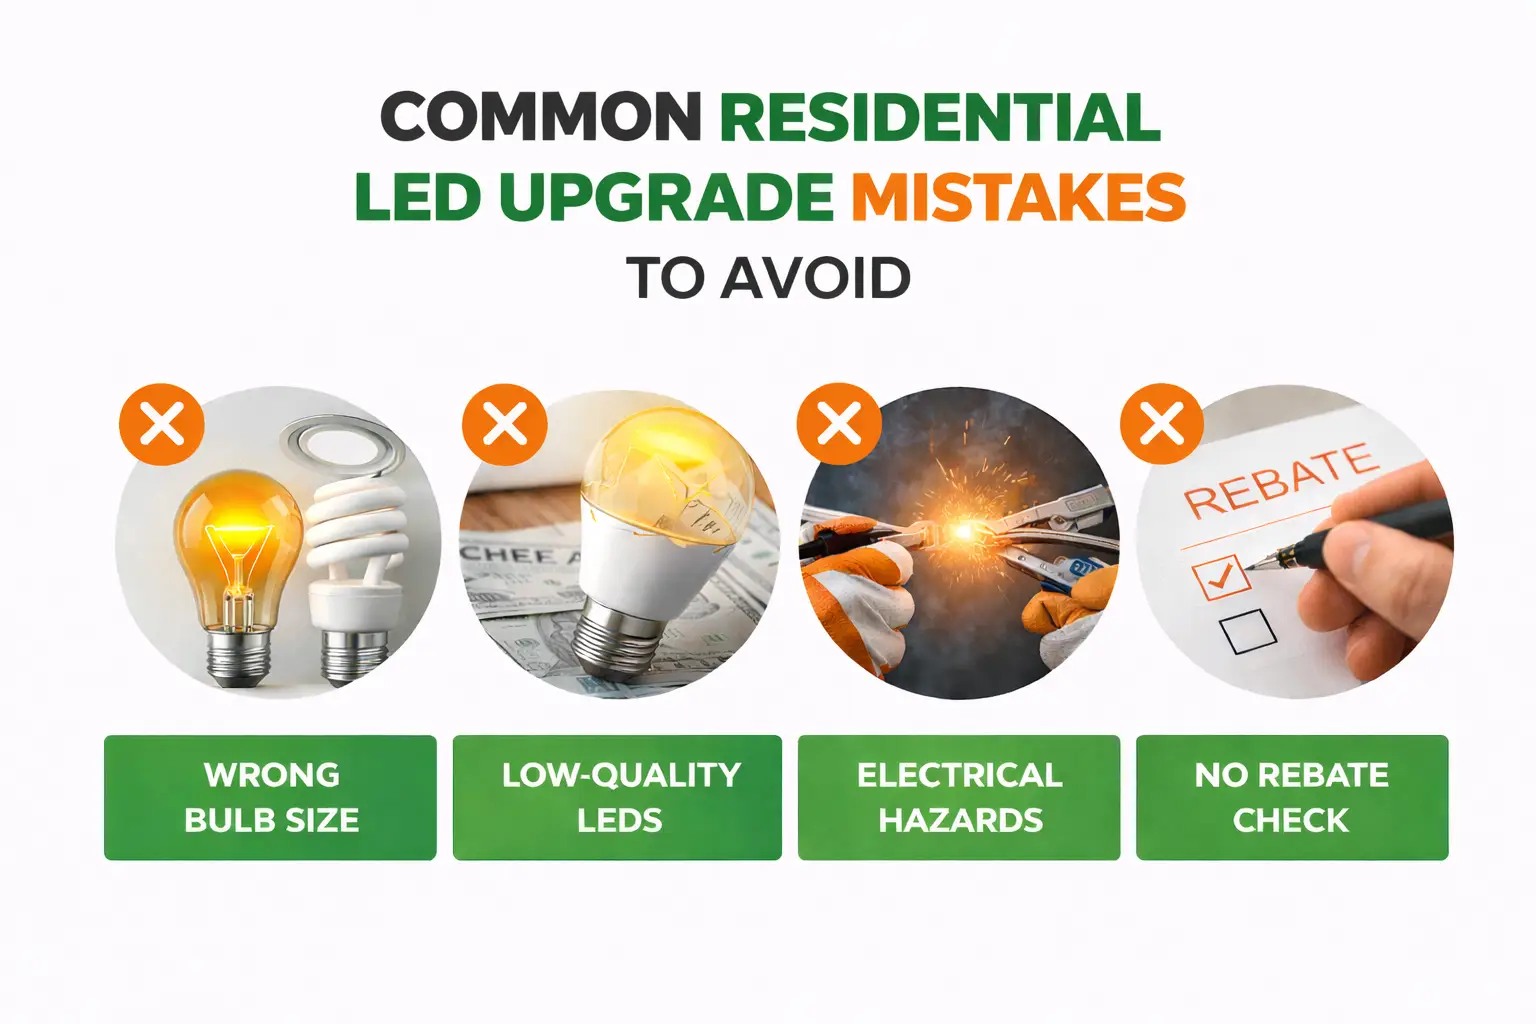
To achieve a successful LED upgrade, learn and always avoid these 10 common mistakes most DIY homeowners make:
This is easily the biggest headache homeowners face. Old dimmer switches were built for bulbs that consumed a lot of power.
Because an LED uses so little energy, the old switch often gets confused. This leads to lights that flicker like a horror movie, buzz loudly, or just won’t dim at all.
The Fix: You usually need to swap your old wall switch for a trailing-edge dimmer. Always check the box to make sure the bulb specifically says “dimmable” before you spend your money. If the load on the circuit is too low, the dimmer might not even register that the lights are on.
Light color is measured in Kelvins (K). If you perform an NSW LED upgrade and put 5000K bulbs in your lounge, it will feel like a cold dental clinic or a hospital ward.
Similarly, if you put 2700K bulbs in your home office, you might feel sleepy while trying to focus on your screen.
To get the color temperature correctly, always ensure you know the following:
The Color Rendering Index (CRI) tells you how “real” colors look under the light. Sunlight has a CRI of 100. Cheap bulbs used in a rushed residential LED upgrade often have a low CRI of 80 or less. This makes your food look gray, your skin look pale, and your expensive navy rug look black.
The Fix: Look for a CRI of 90 or higher. It makes a massive difference in how your home actually looks. High CRI is a must for bathroom mirrors and kitchen prep areas.
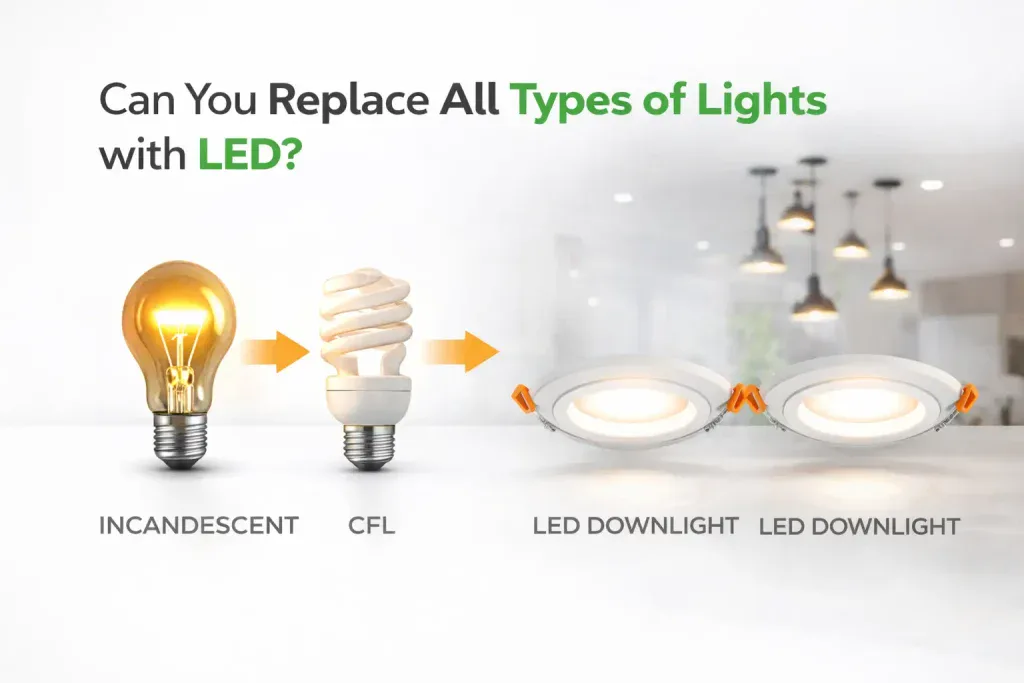
Most of us grew up buying 60W or 100W bulbs. But watts just measure how much power a bulb consumes, not how much light it gives off.
Since LEDs are so efficient, those traditional numbers don’t work anymore. If you buy a 60W LED by mistake, it will be blindingly bright because that is roughly 5,000 lumens.
The Fix: Look at Lumens (lm) for brightness.
Old incandescent bulbs sent light everywhere (360 degrees). LEDs are directional by nature. If you pick a narrow beam for your ceiling downlights during a free LED upgrade, you’ll get bright circles on the floor and dark shadows in the corners of the room. This makes your ceiling look like Swiss cheese.
The Fix: Use wide-angle bulbs (60 degrees or more) for general room lighting. Save the narrow beams (25 to 40 degrees) for highlighting a painting on the wall or a specific feature like a kitchen island.
LEDs stay cool to the touch, but the “driver” (the little computer inside the base) still generates heat. If you put a standard LED inside a sealed glass fixture or a tight “jelly jar” light, that heat has nowhere to go. It will fry the components from the inside out.
The Fix: If your light fixture is totally enclosed, you must buy bulbs specifically rated for that use. Otherwise, your residential LED upgrade won’t last more than a year or two, even if the box promises a decade of life.
If you are putting in new downlights, you have to think about the stuff in your ceiling. In many Australian homes, insulation sits right on top of the lights. Standard lights get hot and can start a fire if they are covered.
The Fix: Ensure your lights have an IC-4 rating. This stands for “Insulation Contact,” meaning they are safe to be covered by glass wool or cellulose insulation. Without this rating, you have to leave a big gap in your insulation, which lets all your expensive heating and cooling escape.
It is tempting to grab the $2 bulbs at the local supermarket. However, cheap bulbs used in an LED upgrade often have “flicker.” You might not see it with your eyes, but it can cause strain, fatigue, and headaches. They also tend to “color shift” over time, meaning after a few months, one light might look yellow while the one next to it looks green.
The Fix: Stick to reputable brands with a decent warranty. A good bulb should last you 15 years, not 15 months. It is better to pay a bit more upfront than to keep climbing a ladder to replace dead “cheap” bulbs.
Sometimes, after a residential LED upgrade, you might notice your lights stay dimly lit even when the switch is in the “off” position. This “ghosting” usually happens if you have smart switches or wall toggles with a tiny locator light inside them. They leak a tiny bit of power that the old bulbs ignored, but the efficient LED picks up.
The Fix: You might need an electrician to install a “load bypass” in the circuit, or you may need to choose a higher-quality bulb with a driver that can handle that residual current.
If you are replacing 12V halogen track lights or downlights, they have a transformer hidden in the ceiling. These old boxes often have a “minimum load” requirement. If your new free LED upgrade uses too little power (say 7W instead of 50W), the transformer won’t kick in. Your lights will either blink like a strobe or won’t turn on at all.
The Fix: Sometimes it’s cheaper and more reliable to replace the whole fixture with a dedicated LED unit rather than trying to make old parts work with new tech.
Comparison: Why the LED Upgrade Matters
| Feature | Old Halogen / Incandescent | Quality LED Upgrade |
| Typical Energy Use | 50W – 75W | 7W – 9W |
| Expected Lifespan | 2,000 hours | 30,000 to 50,000 hours |
| Surface Temperature | 200°C+ | 60°C |
| Durability | Fragile glass & filament | Solid-state (no glass) |
| Mercury Content | None | None |
Performing a residential LED upgrade correctly is a long-term investment that saves you significant money and effort over the years. By taking a moment to verify the Lumens, the color temperature, and the dimmer compatibility before you start swapping things out, you avoid the most common technical traps that lead to buzzing or early failure.
When you plan your transition properly today, you ensure that your home is not only more energy-efficient but also a more comfortable and visually appealing place to live. If you get the technical details right the first time, you won’t have to think about your lighting again for a very long time.
Yes. A standard LED uses about 75% less energy than a halogen bulb. You will see the difference on your very next power bill. Because they last so long, you also save money on buying replacement bulbs every few months.
Most of the time, yes. As long as the base (like E27 or B22) matches, it will fit. However, if the lamp has a built-in dimmer or is a touch-lamp, you need to make sure the LED is dimmable.
This is called ghosting. It happens because some modern switches leak a tiny bit of electricity to stay “smart” or visible in the dark. LEDs are so efficient that even this tiny bit of power makes them glow.
Buzzing is almost always a dimmer switch issue. The switch and the bulb are “fighting” over the electrical signal. Swapping to a modern LED-compatible dimmer switch usually fixes the noise instantly.
Definitely. They use less power, which means less demand on the grid. They also don’t contain mercury like old fluorescent tubes do, so they are much safer to throw away (though recycling is better).
Electricity prices in some Australian states are rising to over 40 cents per kWh, and we are all busy now […]
So, you are fed up with the old light bulbs that keep flickering, increasing your electricity bills, and failing when […]
How does it feel walking through your home and noticing the mismatched bulbs? Those flickering tubes in the garage or […]
Almost every household in Australia is now looking into a residential LED upgrade. And honestly, it’s easy to see why. […]


Our energy efficiency experts are here to answer all your questions and guide you through the products, rebates, and installation process.

Upgrade now, pay later with ![]()