
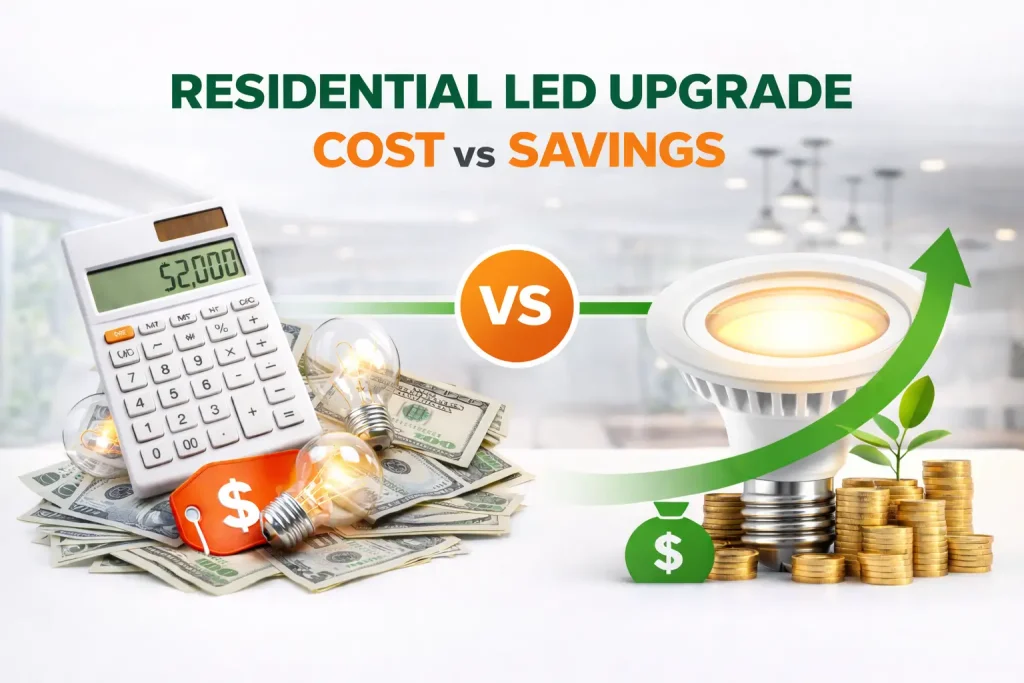
Electricity prices in some Australian states are rising to over 40 cents per kWh, and we are all busy now […]
So, you are fed up with the old light bulbs that keep flickering, increasing your electricity bills, and failing when you least expect them?
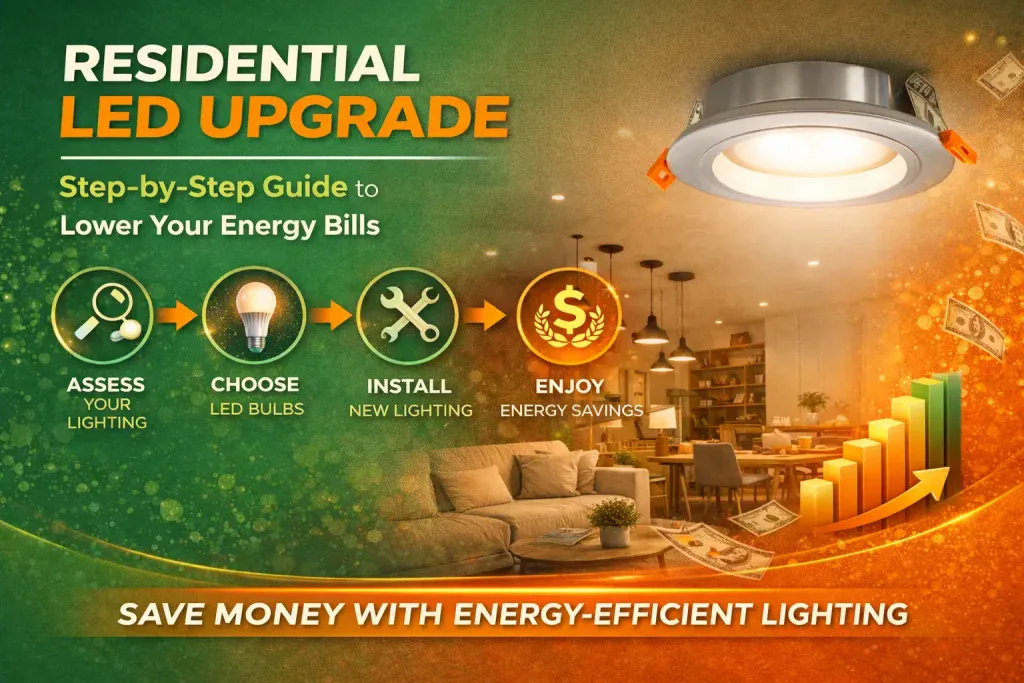
Now you have finally decided it’s time for an LED upgrade. Congratulations on making such a rewarding decision!
LEDs save money, last several times longer, and they don’t produce any heat to overwork your AC.
But when you stand in the middle of the hardware store aisle, staring at a wall of boxes, the doubt creeps in.
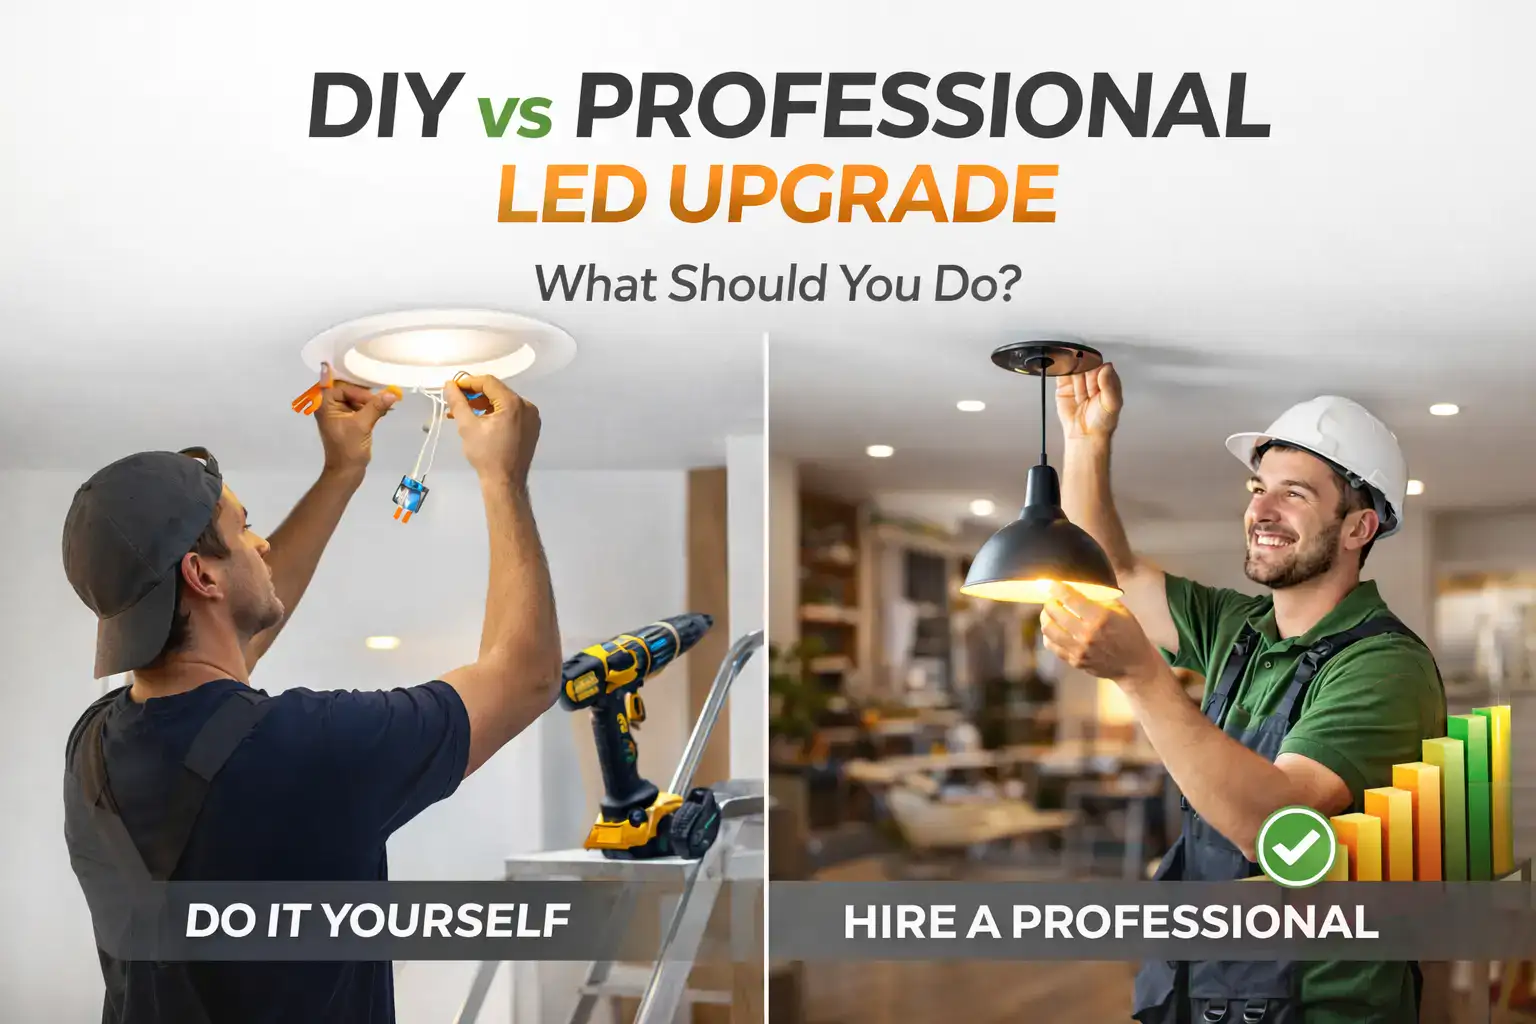
Can you just swap these out yourself over a beer on Saturday? Or are you about to accidentally burn your house down because you didn’t call a professional?
This isn’t just about twisting a bulb. It’s about knowing where the “handy homeowner” ends and the “licensed sparky” begins.
To help you make this decision, we are comparing the pros and cons of both DIY and Pro LED upgrades so you clearly know the right path.
When we talk about residential LED upgrade in Australia, we are referring to one of the following aspects:
Whichever the upgrade approach, the goal is simple: you want a house that is bright, cool, and cheap to run.
A DIY residential LED upgrade means you perform the installation yourself without hiring a technician. For many Australians, it’s the best option for simple tasks that don’t involve touching the internal house wiring.
DIY LED upgrade tasks include:
These tasks are straightforward and can be completed quickly. If you can handle a screwdriver and a ladder, you can manage these without calling for help.
You avoid labour charges entirely. This makes a DIY LED upgrade in Sydney the cheapest option. You can put all your money into buying higher-quality bulbs rather than paying for someone’s time and travel.
You can complete the work immediately. You don’t have to wait for an electrician to be free or take a day off work to let them in. You can finish a room in ten minutes on a whim.
Basic upgrades do not require special tools or training. Most of the time, it’s as simple as “righty-tighty, lefty-loosey.” It fits around your schedule and requires very little planning.
Handling small projects helps you build confidence. It’s a great entry point for home improvement. Learning about colour temperatures and wattages helps you understand how your home actually functions.
A DIY residential LED upgrade is only suitable for simple work. In Australia, it is actually illegal to do your own hardwiring. If you have to cut wires or open up a junction box, you’ve gone past the DIY limit.
Electricity is dangerous.
Even if the switch is off, faulty old wiring can still carry a charge. Incorrect handling can lead to serious injury or a house fire if a connection isn’t tight enough.
Mistakes can cause flickering lights or poor performance.
If you buy the wrong type of LED for an old dimmer switch, you might end up with a strobe effect that is incredibly annoying and potentially damaging to the electronics.
If something goes wrong, you must fix it yourself. You have no legal recourse or warranty on the installation. If a DIY light fails and causes damage, your home insurance provider might even reject your claim.
A professional free LED upgrade is carried out by a licensed electrician. They manage everything from the initial planning to the final safety check. Their work may include:
Professionals follow strict safety procedures. They test the circuits and ensure everything is grounded. This reduces risks during a residential LED upgrade to almost zero.
The installation is done correctly the first time. Professionals know how to space lights so there are no dark spots or weird glares on your TV screen. The finish is always cleaner and more polished.
Large projects require experience. If your switchboard needs an upgrade to handle new dimmers, a professional can do it. They have the tools to cut precise holes and fish wires through tight wall cavities.
A professional ensures your residential LED upgrade meets local electrical regulations. This provides you with a Certificate of Electrical Safety, which is a legal requirement in many areas and protects your property value.
The job is completed quickly and with fewer errors. A pro has the right hole saws, wire pullers, and testers ready to go. What takes you a whole weekend might take them three hours.
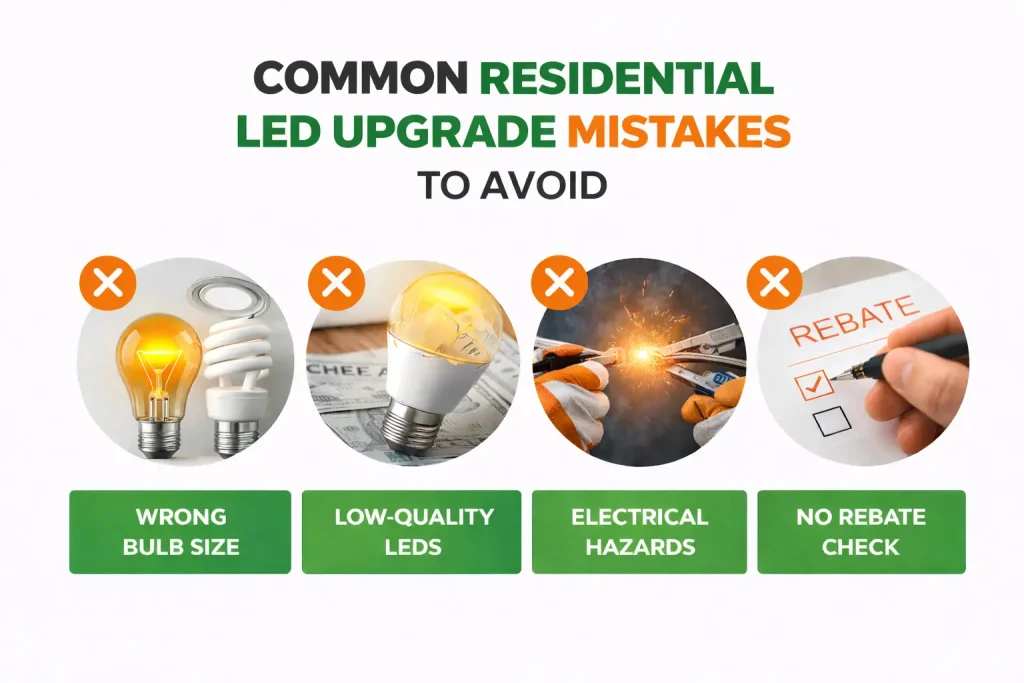
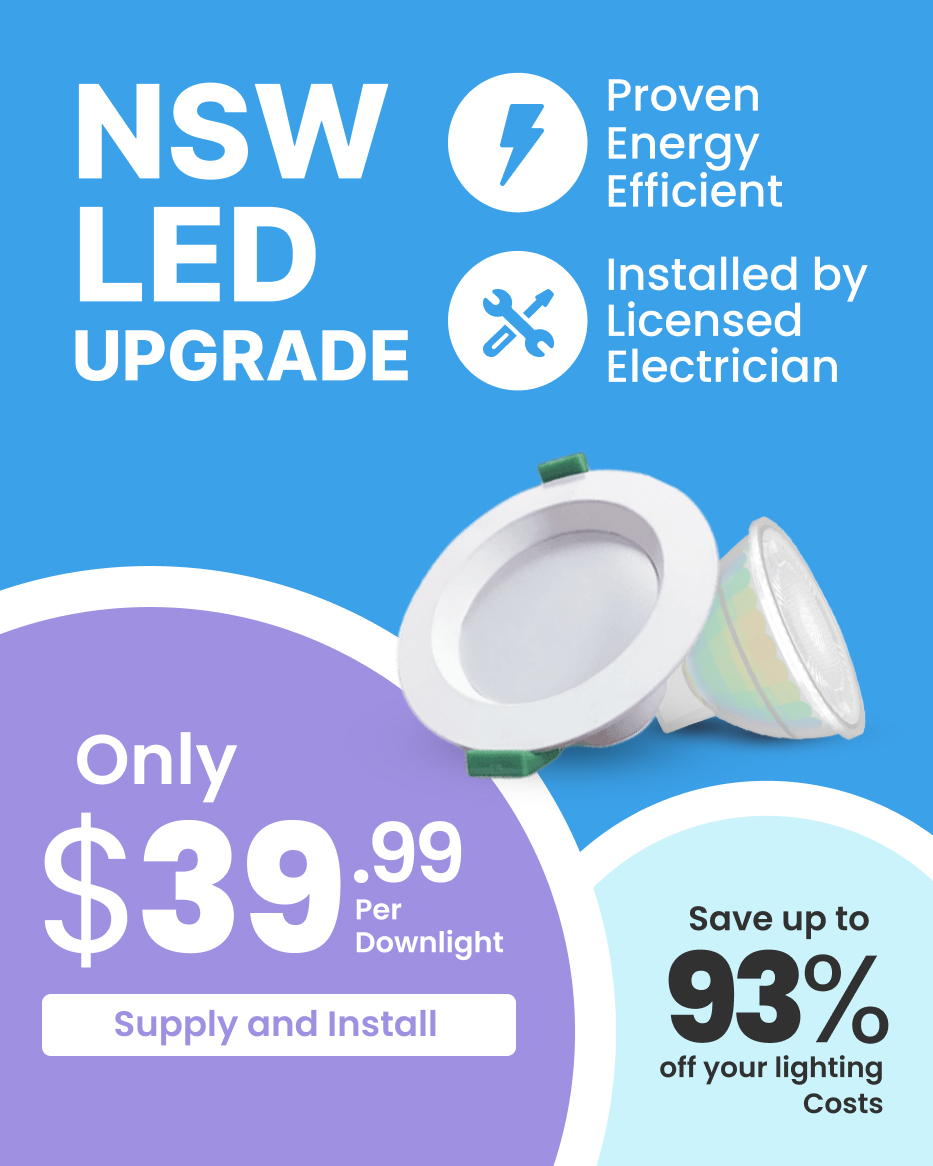
Professionals can help you access available government rebates and ensure your residential LED upgrade in Sydney meets the required standards. This can reduce your total installation cost and improve overall affordability.
Many electricians offer ongoing support after the installation. If something fails or needs adjustment, you are not left to troubleshoot it alone. This gives your NSW LED upgrade long-term reliability and peace of mind.
Labour increases the overall cost of the project. You are paying for their expertise, their tools, and the peace of mind that comes with a license.
You may need to wait for an available appointment. Good electricians are often in high demand, so you might have to plan your upgrade a few weeks in advance.
You rely on the electrician to carry out the work. If you aren’t clear about where you want switches or what “warmth” of light you prefer, you might end up with their default choice rather than your own.
You are only looking at the price of the hardware. A standard LED bulb might cost $5 to $20. A DIY strip light kit might be $50. This is the most budget-friendly way to get started.
You pay for the materials plus a labour rate, which often ranges from $50 to $110 per hour. However, professionals can often source higher-grade fixtures that last longer than the ones found on supermarket shelves. They can also help you claim government rebates which brings the cost down to almost that of DIY.
DIY saves money upfront, but a professional residential LED upgrade often pays off better in the long run. Proper installation means fewer hardware failures and a safer electrical system that adds real value to your home’s resale price.
A DIY free LED upgrade is suitable when:
These situations are low-risk and easy to manage.
You should choose a professional LED upgrade NSW when:
These projects require experience and proper tools.
Electricity doesn’t give second chances. Always turn the power off at the main switchboard, not just the wall switch. Even then, an old house might have “bootleg” wiring that remains live.
Poor installation is a leading cause of house fires. If an LED driver is buried under thick insulation and isn’t rated for it, it will overheat. Professionals use IC-4-rated lights to prevent this.
Not all LEDs work fine with old dimmers. This leads to buzzing, flickering, and premature bulb failure. A pro can install a trailing-edge dimmer that is specifically designed for LED loads.
DIY upgrades often lack a cohesive plan. You might end up with one corner of the room being blindingly bright while the other is in shadow.
A professional free LED upgrade NSW looks at “layering” light. They combine task lighting for work areas with ambient lighting for relaxing, creating a much more comfortable environment.
DIY takes a lot of research. You have to figure out beam angles, color temperatures, and base types. If you buy the wrong part, you have to go back to the store. It’s a significant time investment.
A professional handles the logistics. They bring the parts, do the work, and clean up the mess. You spend your time doing what you actually enjoy while they handle the technical side.
The best way to save money is to split the work. Handle the simple bulb swaps in your lamps and easy-to-reach sockets yourself. Then, hire a professional to handle the ceiling fixtures, the wiring, and the dimmers. This gives you the best of both worlds: lower costs and a safe, professional finish.
A DIY job is great for a quick fix. But a professional residential LED upgrade NSW is a long-term investment. It ensures your home is up to code, your energy savings are maximized, and your lighting design actually improves your daily life.
| Feature | DIY LED Upgrade | Professional LED Upgrade |
| Best For | Swapping standard bulbs (screw/bayonet) and plug-in lamps. | Hardwiring fixtures, downlights, and smart home systems. |
| Upfront Cost | Lowest—you only pay for the globes. | Higher—includes hardware plus labor and call-out fees. |
| Legal Status | Legal for non-wired tasks (plug & play). | Required by law for all fixed electrical wiring in Australia. |
| Safety Risk | High risk of falls, electric shock, or fire from poor connections. | Minimal—pros use testers, grounding, and follow safety codes. |
| Time Needed | Significant—requires research, shopping, and troubleshooting. | Fast—electricians are efficient and bring all necessary tools. |
| Quality of Light | Hit or miss—often leads to “hospital” blue tones or shadows. | High—includes professional layout and correct color layering. |
| Warranty | None—if you break it or it fails, you buy a new one. | Guaranteed—comes with a Certificate of Electrical Safety. |
| Long-Term Value | Good for quick savings on power bills. | Highest—adds property value and ensures system durability. |
The choice is simple. If it’s a bulb, do it yourself. If it’s a wire, call a pro. Your home is likely your biggest asset; don’t risk it to save a few dollars on a call-out fee. A professional upgrade is safer, looks better, and lasts longer.
Taking the right approach ensures better lighting, lower energy costs, and a safer home.
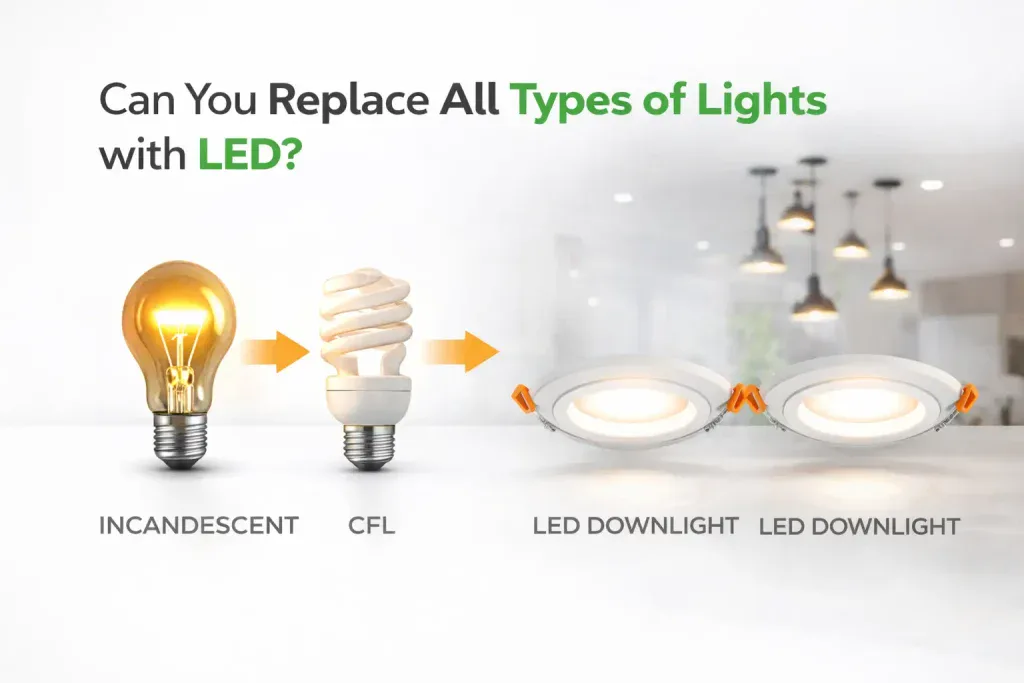
Only for hardwiring. If you’re just screwing a bulb into a lamp or an existing socket, you can DIY. But if you’re replacing a whole fixture or cutting into the ceiling for downlights, Australian law requires a licensed electrician.
Expect to pay $5 to $20 per standard LED unit. For labor, an electrician typically charges a call-out fee of $150, plus roughly $30 to $50 per light point, depending on the complexity.
The biggest fail is “hospital lighting”; using Cool White (5000K) in bedrooms instead of Warm White (3000K). Other issues include spacing downlight in a rigid grid that creates harsh shadows and ignoring dimmable compatibility.
Turn off the power at the wall. Let the old bulb cool. If it’s a bayonet (B22), push and twist left. If it’s a screw (E27), just unscrew it. Pop the new LED in, twist it firmly, and flick the switch.
Heat is the killer. If an LED has no ventilation or is buried under ceiling insulation without an IC-4 rating, it cooks. Usually, the internal “driver” (the electronics) fries long before the actual light-emitting chip does.
No. LEDs run on low-voltage DC, but your house uses high-voltage AC. Every LED needs a driver to convert that power. Standard bulbs have them hidden inside the base; downlights usually have a small external box.
Using an old “leading-edge” dimmer designed for halogens. This causes LEDs to strobe, buzz, or flicker. You usually need to swap to a “trailing-edge” LED dimmer to keep the circuit stable and quiet.
Electricity prices in some Australian states are rising to over 40 cents per kWh, and we are all busy now […]
Did you know that around 10% of your household electricity budget goes to lighting? It’s such a huge bill that […]
How does it feel walking through your home and noticing the mismatched bulbs? Those flickering tubes in the garage or […]
Almost every household in Australia is now looking into a residential LED upgrade. And honestly, it’s easy to see why. […]


Our energy efficiency experts are here to answer all your questions and guide you through the products, rebates, and installation process.

Upgrade now, pay later with ![]()