
Getting an energy rebate shouldn’t feel like you’re doing a tax return. In New South Wales, the government is practically […]
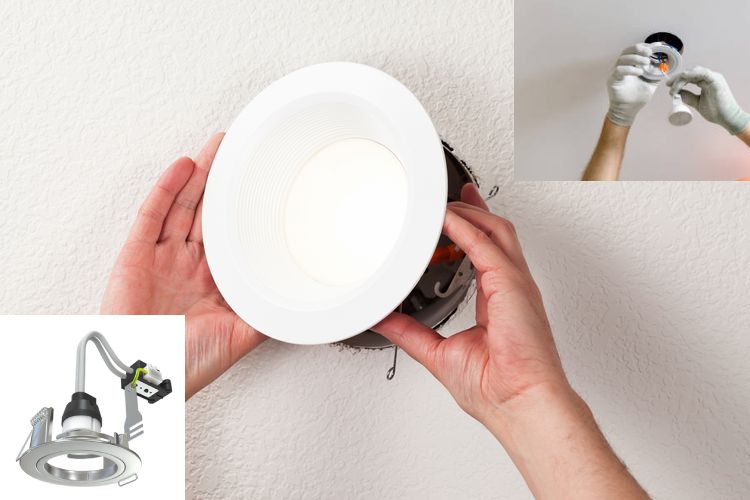
Removing a downlight from the ceiling in 8 easy steps:
When removing downlights, keep an eye out for the clips and springs on the sides of your downlights.
Try to avoid getting your fingers hooked, as that can be painful. Additionally, it is preferable to remove the downlights in way that doesn’t harm the paint or gyprock, so you can avoid repairing your ceiling.
To remove a downlight safely without damaging the ceiling, follow these steps:
Ensuring the safety of all individuals is of utmost importance while engaging in electrical tasks. So, the first step required in any such project is deactivating the electrical supply at the circuit breaker.
By doing this, you ensure that the light fixture will remain disconnected from electrical power while you attend to it. It is not enough to merely turn off the light; rather, it is essential to disconnect the electrical transformer completely.
For your safety, turn off the electricity to the downlight at the circuit breaker before you begin working inside.
Before handling or removing a downlight bulb, an important safety measure is to let it cool down after usage. This is important for the following reasons:
Avoiding burns: Downlights can get quite hot when turned on, mainly if they use halogen or incandescent bulbs. Let the bulb cool down before touching it to avoid burns or pain. Hot bulbs may cause severe burns if they touch the skin directly, so let them cool first before handling them to avoid burning your hands or fingers.
Preventing Possible Injury: It’s important to use caution while handling hot bulbs to avoid dropping or mishandling them, as that might break or damage the fixture or nearby objects.
As highlighted above, if downlights are handled while they’re still hot, they can cause severe burns as well as increase the chance of being dropped or mishandled which can in turn break or damage other objects.
For this reason, it’s important to use protective gear while handling hot bulbs to avoid such complications.
Finding the retention springs or clips is crucial when removing downlights.
The downlight is securely fastened to the ceiling using retention springs or clips, to ensure the stability of the fixture. By recognising these parts, you may better understand the fixture’s fastening mechanism and remove it systematically.
You can learn to properly insert and remove the fixture by finding its springs or clips. Following these steps guarantees the removal of the light fixture without breaking it or the ceiling.
In addition, this also lessens the likelihood of injury and prevents accidental damage to the clips or springs when you remove them.
Undoubtedly, a crucial step in the removal process is to twist and remove the bulb or fixture after removing the springs or clips. The proper way to do this safely is as follows:
Mechanism of Security: Turning the bulb or fixture counterclockwise is a common technique for removing it from the socket or mounting bracket. Pulling this lever separates the fixture from its base, making its removal a breeze.
Most downlights are designed to be twisted for easy removal when the restraining springs or clips are released. As such, you can easily remove the attachment without straining it, which reduces the risk of damage.
Be wary that other fastening mechanisms can be hidden in the light bulb or fixture if it doesn’t rotate easily. The ceiling or the fixture might get damaged if you force it. Instead, go to the fixture’s manual for removal instructions and make sure there aren’t any other locking mechanisms.
Avoiding ceiling or fixture damage is possible by twisting the bulb or fixture, to allow for controlled removal. During this stage, being cautious and patient is critical to avoid harm.
After removing the bulb or fixture, gently and carefully lower the fixture to guarantee safety and avoid any damage. Here’s why this is crucial:
Safety considerations include lowering the fixture gradually to prevent rapid dips that might damage it or cause harm. It permits a controlled fall, minimising the danger of an accident.
Wire Tangles: Gently directing the fixture down ensures that any wires attached to it do not get tangled or entangled in the ceiling or surrounding structures. This decreases the potential of wire damage and makes reinstallation simpler.
You can reduce the risk of the fixture accidentally coming in touch with the ceiling by lowering it slowly and carefully. This safeguards the ceiling surface from any potential harm, such as scrapes or scuffs.
Slightly lowering the fixture at a leisurely pace makes it easier to manage and handle, which is particularly helpful when dealing with large fixtures or those that have several components attached to them.
It is essential to disconnect the wiring, especially if the downlights are hardwired. I will explain the significance of this matter and provide instructions on how to do it securely:
To safely remove the downlight without the risk of electric shock or accidents, it is essential first to disconnect it and ensure that there is no active electrical connection.
By disconnecting the power source, you can be sure that the downlight won’t turn on by mistake while you work, making the area safer.
You may remove the fixture more efficiently and with greater control when you disconnect the wire. It makes the process easier by doing away with the obstacles caused by connecting cords.
Preparation for Reinstallation: To make the reinstallation operation easier, remember the wire arrangement after separation. Reconnecting wires during installation will be more accessible and more accurate with the help of marking or labelling.
Here are the methods to safely unhook the wire:
Take the wires apart by removing the nuts and connectors that hold them in place.
Make a note of the wires that are connected. To facilitate reinstallation, it may be helpful to photograph or label the wires.
Get in touch with an electrician, or write down all the connections before you unhook anything if you need clarification on the wiring layout.
By carefully following these steps, you can remove hardwired downlights without damaging them or risking any electrical hazards, and reinstallation will also be easier.
In conclusion, it takes a methodical approach that prioritises precision and safety to remove a downlight from the ceiling without harming it. To ensure smooth removal, it’s essential to follow these steps: switch off the power, wait for the bulb to cool, locate the retention processes, and, if needed, disconnect the cabling.
This technique will allow you to remove the ceiling fixture without risking damage to either the ceiling or the fixture itself.
At each stage, you’ll release holding springs or clips and then gently twist and guide the light down, all the while keeping an eye out for potential hazards like cable tangles or damage to the fixture itself or the ceiling.
Getting an energy rebate shouldn’t feel like you’re doing a tax return. In New South Wales, the government is practically […]

Electricity prices in some Australian states are rising to over 40 cents per kWh, and we are all busy now […]
Did you know that around 10% of your household electricity budget goes to lighting? It’s such a huge bill that […]

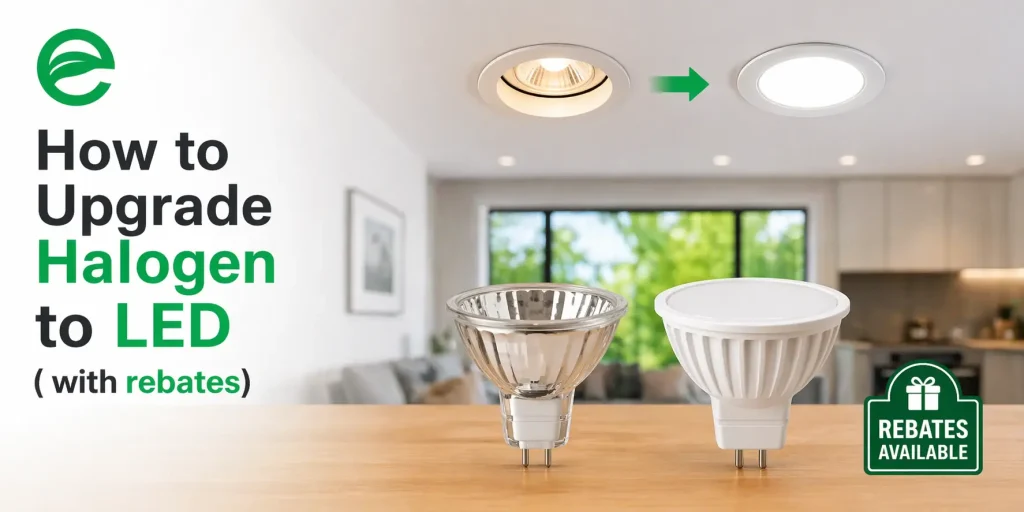
So, you are fed up with the old light bulbs that keep flickering, increasing your electricity bills, and failing when […]


Our energy efficiency experts are here to answer all your questions and guide you through the products, rebates, and installation process.

Upgrade now and pay later with the Home Energy Saver Program ![]()