
Getting an energy rebate shouldn’t feel like you’re doing a tax return. In New South Wales, the government is practically […]
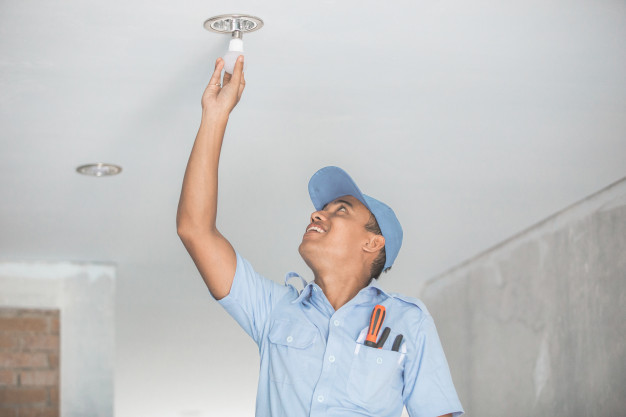
Changing an LED downlight can be a simple process if you follow the correct steps. Here’s a general guide that can be applied to most LED downlights:
Steps to change a LED Downlight Bulb;
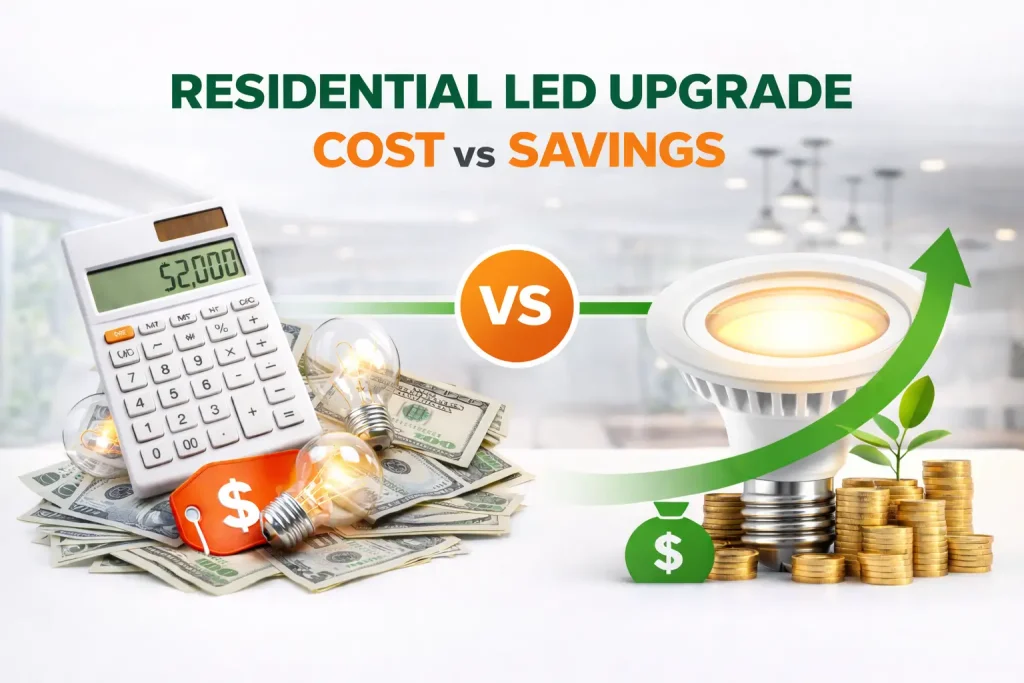
Upgrading your home with residential LED downlight scan drastically change the overall look and feel of your home.
It’s chic, modern, simple, and minimalist. It’s also a common go-to lighting for business establishments. Investing in quality downlights will better illuminate the space and make it more efficient.
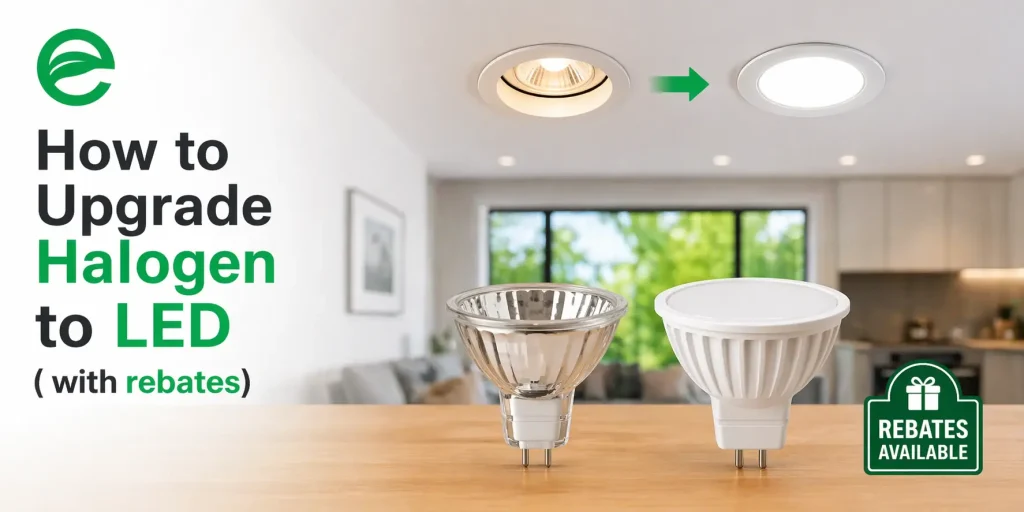
Besides aesthetics, LED downlights are great for saving on energy consumption when compared to traditional halogen downlights. You can expect up to 75% savings on your energy consumption once you make the big switch.
Complete LED lighting upgrade from as little as $33
Additionally, LED downlights can last for years, and their operation emits only a tiny amount of heat.
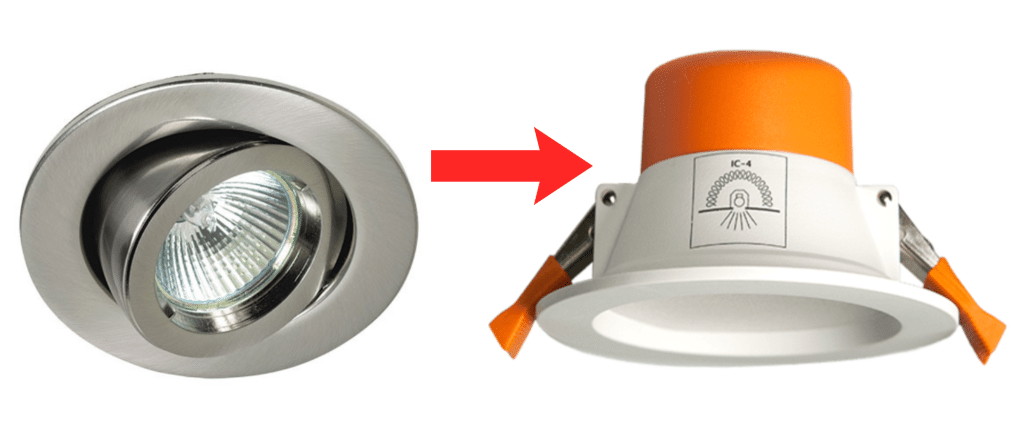
Upgrading downlights to LED is a pretty straightforward choice, and with types of LED lights manufactured to fit within halogen downlight cutouts, you’ll be guaranteed a seamless transition.
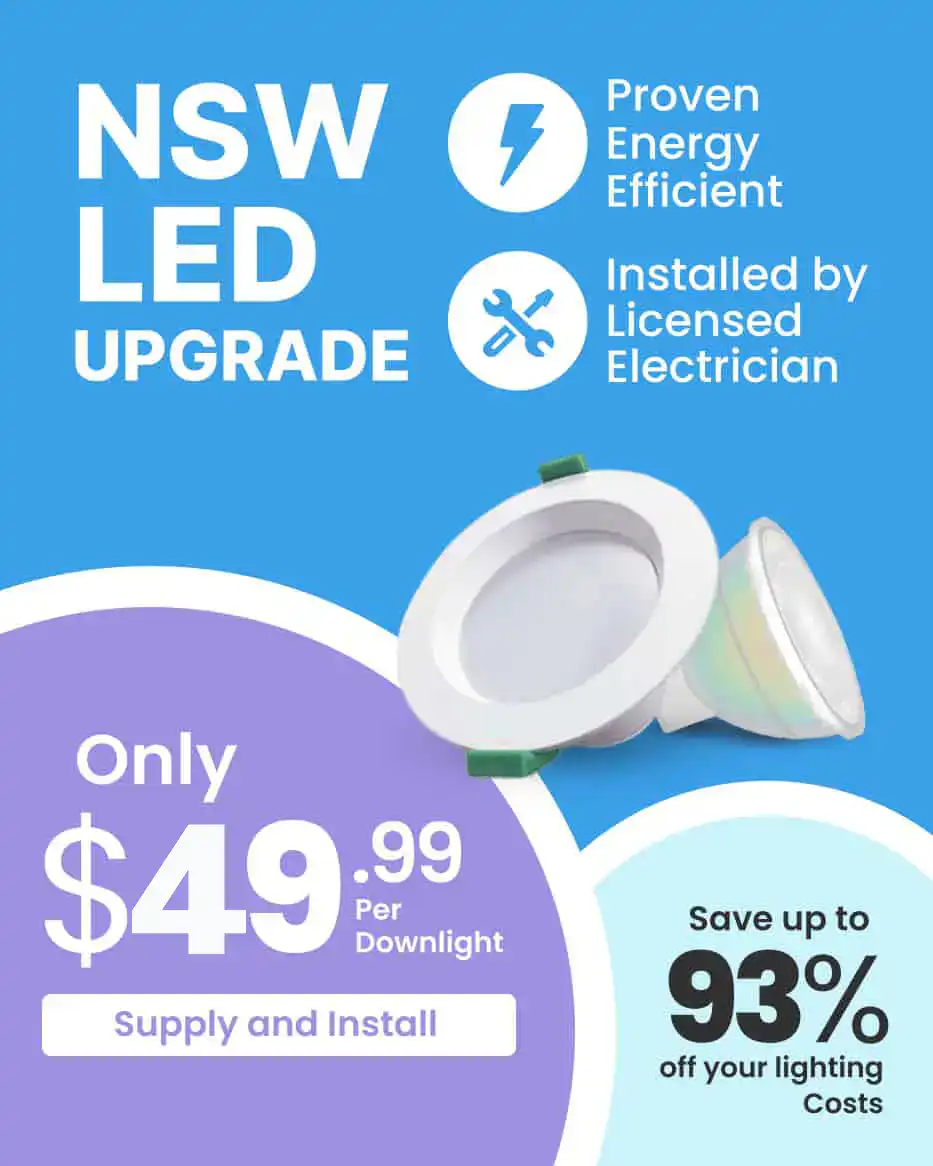
Under the ESS scheme, you can get the total cost of an LED upgrade subsidised and a 5-7 year product warranty.
Complete LED Downlight upgrade from as little as $33 – Saving up to 93% off your lighting costs! Learn More
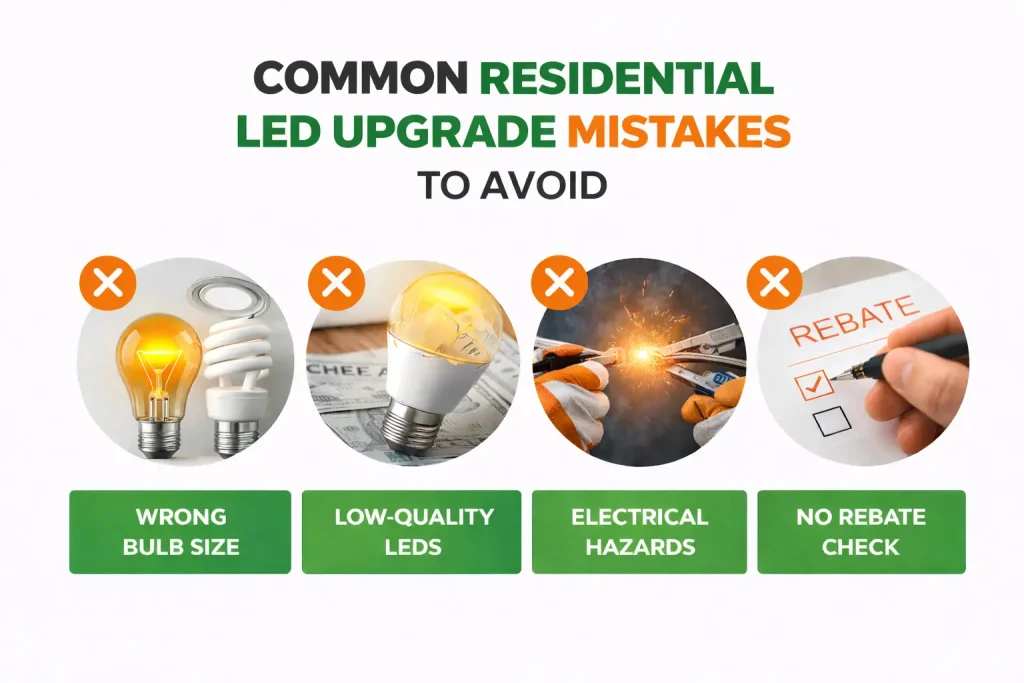
Before you rush to the store to purchase an alternative for your faulty downlight, you should consider the type of light to choose.
Assessing the function of the space, the aesthetics, the practicality and matching these criteria with a specific type, will result in the right selection that will improve performance, will increase the life expectancy of the downlight and save you from the trouble of testing and returning types to the store.
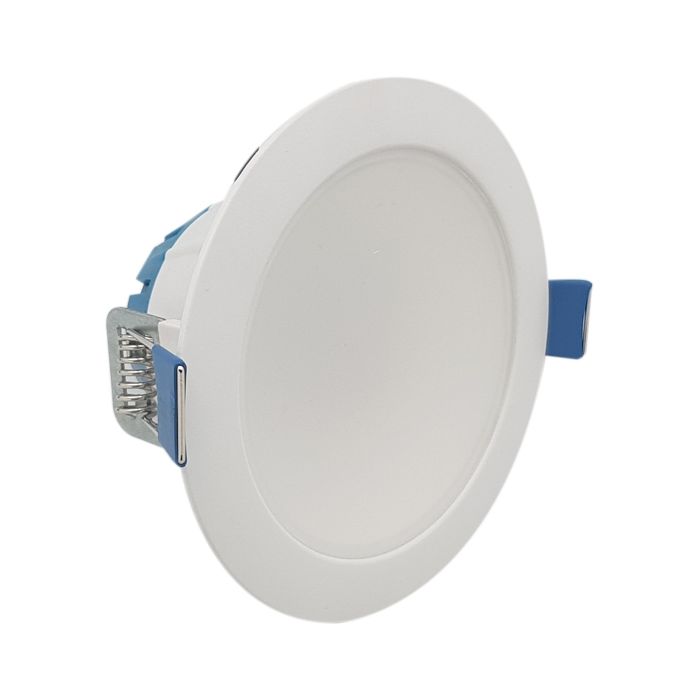
Two types of downlight globes are commonly used, MR16 and GU10. Before any replacement, make sure to check your old sockets before purchasing new LED bulbs.
✅ MR16 globes have two sharp pins and a ‘push-to-fit’ installation system. This bulb has a lower voltage compared to GU10. It commonly operates at 12 volts, which means these types also require a transformer. If the existing types are halogen downlights, make sure to also replace the transformer when upgrading to LED.
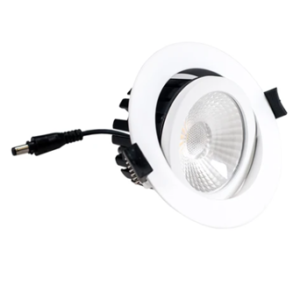
✅ GU10 can be easily installed with a twisting mechanism until it locks into place. Unlike MR16, GU10 operates on high voltage (typically 120 volts) and has two prongs instead of pins.
The higher the lumen output, the brighter the room. Traditionally, brightness used to be measured by the watt consumption of the fixture, but with LEDs, this method is no longer applicable as LEDs use minimal energy.
The intensity of light can have a strong impact on the ambience of a room, and on the resulting feeling people will get when entering and spending time in the room, so if you’re aiming for a certain vibe, it’s best to consider the brightness of the downlight.
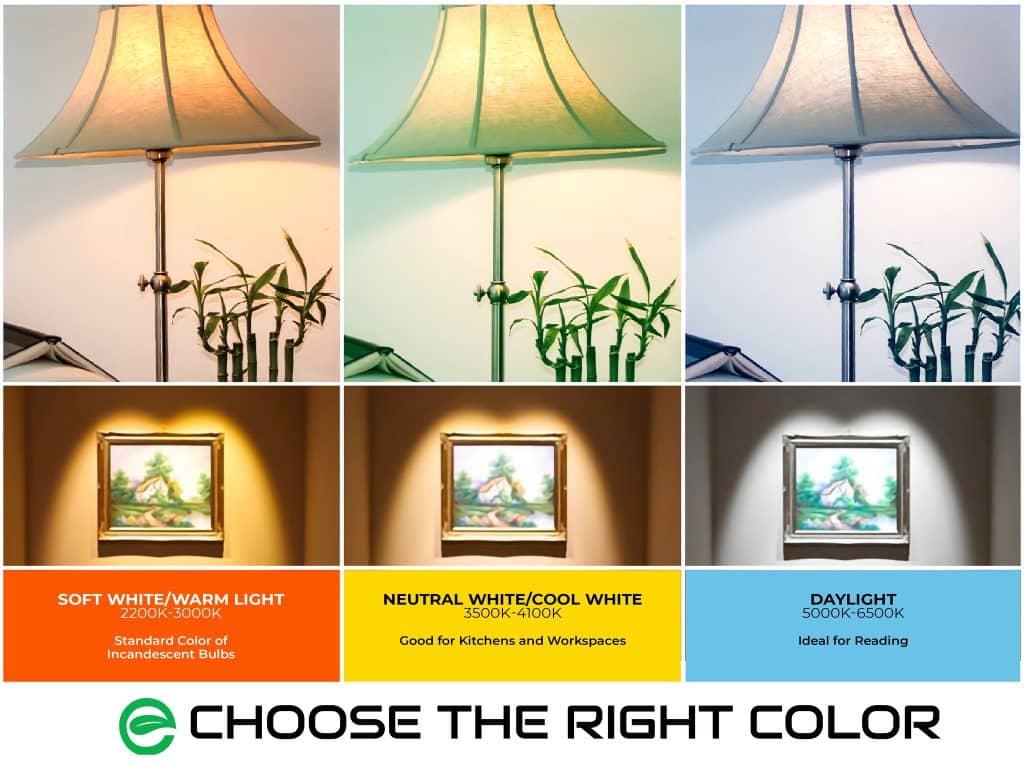
Colour temperature gives the first impression to anyone who steps inside your room, with characteristics of each temperature output that meet a specific function and space requirement.
Typically, you can choose from three-colour temperatures:
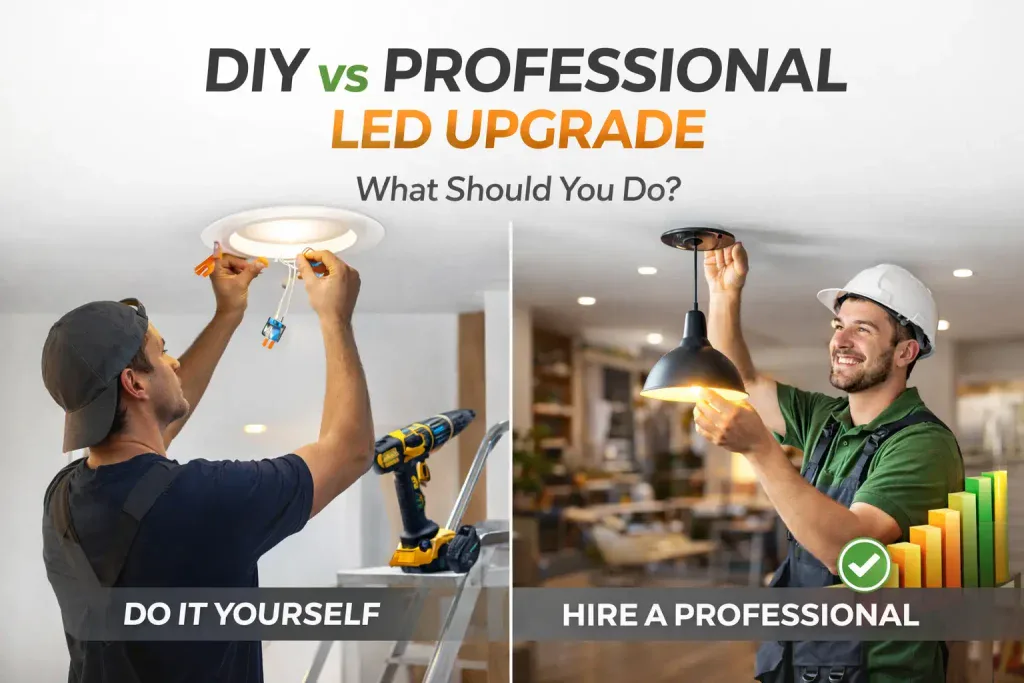
Now that you’ve picked the perfect downlight, it’s time to install the downlight. However, it is very important to follow precautionary measures to protect yourself from injury and electric shock.
It is highly advisable to perform the installation or replacement with someone watching over, especially if it involves standing on a ladder.
Also read: Installing a ceiling fan
This initial step is highly important and must not be ignored.
Electrical shock can be hazardous and even deadly, and can be avoided by turning off the specific breaker that controls the power flow to the light. For extra protection, wear rubber-insulated gloves.
Rubber is non-conductive to electricity and is an essential tool worn by professional electricians when handling electrical wires.
Tired of high energy bills? Solar Installation could be your biggest energy saver.
Downlights, especially halogen bulbs, emit a lot of heat during operation and therefore become extremely hot to the touch after use. The heat can cause a first-degree burn.
That’s why it is essential to wait until the bulb cools down. LED bulbs avoid this obstacle altogether, as they emit much lower heat and cool down faster.
Twist the fitting in a counter-clockwise motion until it is safe to pull out. Once the old bulb is removed from the socket, remove it from its clip or lamp holder.
MR16 downlights can get a little trickier.
You’ll first need to remove the fitting or the outer ring that holds the downlight. If it’s stubborn, you can use a flathead screwdriver and gently pull it from the ceiling. MR16 bulbs have pins, so you can simply remove them like a standard plug.
After removing the outer ring along with the attached bulb, check the transformer that feeds the fixture; it should generally be located inside your ceiling. Once you’ve located the transformer, check if it requires replacement by checking the VA number printed on its body.
If the input voltage is within the range of your new LED bulb, it can be safely used for the new light. However, if the transformer requires replacement, it is best to hire a professional electrician to ensure the safety of yourself and your home from potential fire and electrical hazards.
Fit the new bulb with the old clip. When done, attach the bulb first to the socket, then in a clockwise direction, twist it again until it is well-fitted in the ceiling.
Some MR16 LED downlights are already fitted with an outer ring that can be easily attached to the ceiling.
However, even if you only purchased the LED bulb, you can still use the old outer ring. Gently remove the old bulb and place the new one.
Once ready, plug the pins into the socket and push the outer ring until you hear a click from the ceiling, indicating the downlight has been locked in place.
Once the process is complete, turn the breaker switches back to their original ON position. Check if the downlight is working by turning on the assigned lighting switch as you would typically do.
Generally, downlights should instantly light up, but if they don’t, allow for a few minutes for the light to warm up. Otherwise, go through the steps and re-check the installation.
If you are thinking about replacing LED downlights, get in touch for a quick LED lighting consultation for FREE
Also read;
Getting an energy rebate shouldn’t feel like you’re doing a tax return. In New South Wales, the government is practically […]
Electricity prices in some Australian states are rising to over 40 cents per kWh, and we are all busy now […]
Did you know that around 10% of your household electricity budget goes to lighting? It’s such a huge bill that […]
So, you are fed up with the old light bulbs that keep flickering, increasing your electricity bills, and failing when […]


Our energy efficiency experts are here to answer all your questions and guide you through the products, rebates, and installation process.

Upgrade now and pay later with the Home Energy Saver Program ![]()