Residential LED Upgrade: Step-by-Step Guide to Lower Your Energy Bills
Last updated on April 9, 2026
Almost every household in Australia is now looking into a residential LED upgrade. And honestly, it’s easy to see why. Traditional lights use a lot of power, run hot, and don’t last very long.
LED, on the other hand, uses far less energy (around 75% to 85% less) and lasts much longer. So with them, you will experience fewer replacements and immediately notice savings on your power bill over time.
But the challenge arises when it’s time to upgrade to LED. Many of us are stuck wondering …What lights do I choose? Where do I start? What can I safely do myself, and where do I need professional help?
That confusion is real.
And it’s exactly where things can go wrong if you rush in. But you don’t have to worry about it anymore if you are reading this guide. We will show you what to do, what to avoid, and how to get it right the first time.
At the end of this guide, you’ll be in a position to carry out a residential LED upgrade that leaves you enjoying lower power bills, better lighting, and a more comfortable home.
Let’s get into it
1. Audit Your Current Lights
The first thing when doing a residential LED upgrade NSW is knowing what you actually have. You cannot do this out of guesswork or while sitting on the couch.
Grab a ladder, a torch, and a notepad. Walk through every single room and document what you see.
What to check and why it matters:
Old incandescent bulbs: These usually waste a lot of energy as heat. They get too hot and can overwork your AC. They are the biggest money wasters, so you need to identify them and prioritize their removal.
Flickering halogen downlights: These are usually 50W each. If you have ten in a lounge, that’s 500W just to watch TV. Frequent flickering often means the old transformer is dying and needs replacing anyway.
Dark spots: Note where you can’t see the floor. This tells you that you need a bulb with a wider “beam angle” to spread light further across the room.
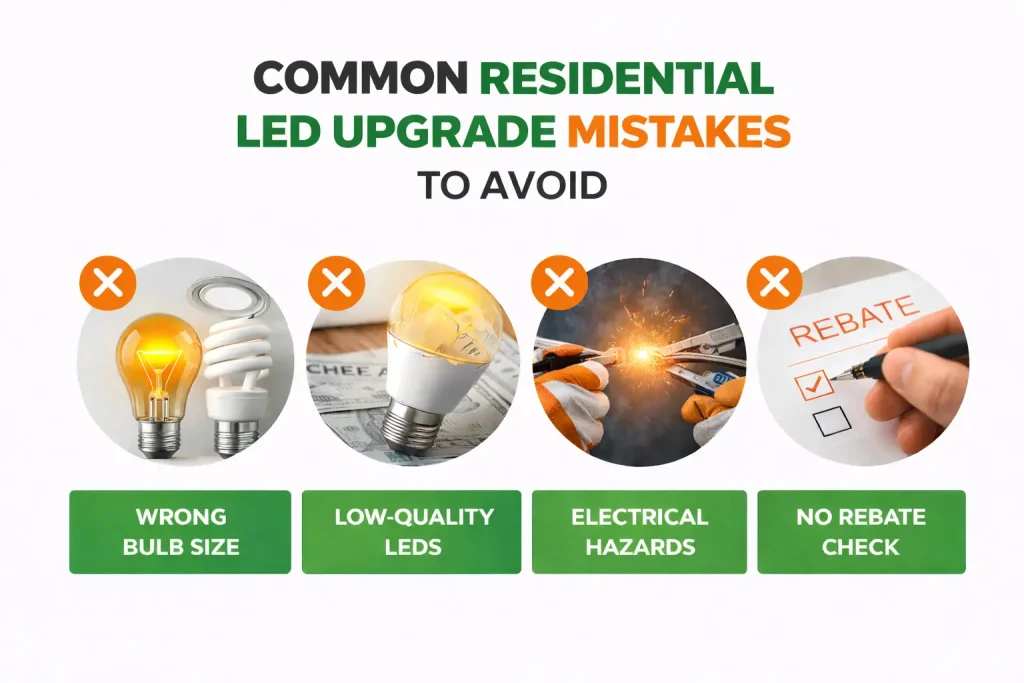
Base types: Check for Edison screws (E27), small screws (E14), or bayonets (B22). If you buy the wrong base, the bulb simply won’t fit the socket.
Checking out this ensures you know what needs attention and helps you avoid wasting time making several trips to the market.
2. Categorise Your Upgrade Path
Not every light needs the same level of work. In a free residential LED upgrade, you’ll usually find three distinct paths. Categorise them now to save time later.
The Quick Swap: This is for lamps and standard ceiling batten holders. You just unscrew the old bulb and pop in a new LED version. It’s a 30-second DIY job.
The New Fixture: This is for those old, dusty oyster lights or dated pendants. You’ll be replacing the whole unit with a modern, integrated LED fitting. This usually looks much better, but often requires a technician to wire it in.
The Downlight Swap: This is the one that calls for more attention. It involves pulling out old halogen canisters and transformers to put in sealed LED units. This is the best way to stop heat from leaking into your roof.
3. Set a Realistic Budget
A residential LED upgrade Sydney is an investment, so you need to plan your spending carefully. You should not go buying whatever you find cheaper.
Budget considerations:
Bulk packs: These are cheaper per bulb. They are fine for a laundry, garage, or pantry where light quality isn’t the priority.
High-CRI units: Spend more on these for the kitchen. CRI stands for Color Rendering Index. High-CRI lights are the best for the kitchen if you want to ensure your food looks natural instead of grey or washed out.
Electrician fees: If you’re swapping twenty downlights, you need to factor in a professional’s time. In Australia, hardwiring requires a license for insurance purposes.
Smart tech: Only buy these for rooms where you actually want to dim the lights from your phone. Don’t waste money putting smart bulbs in a hallway you only walk through for five seconds.
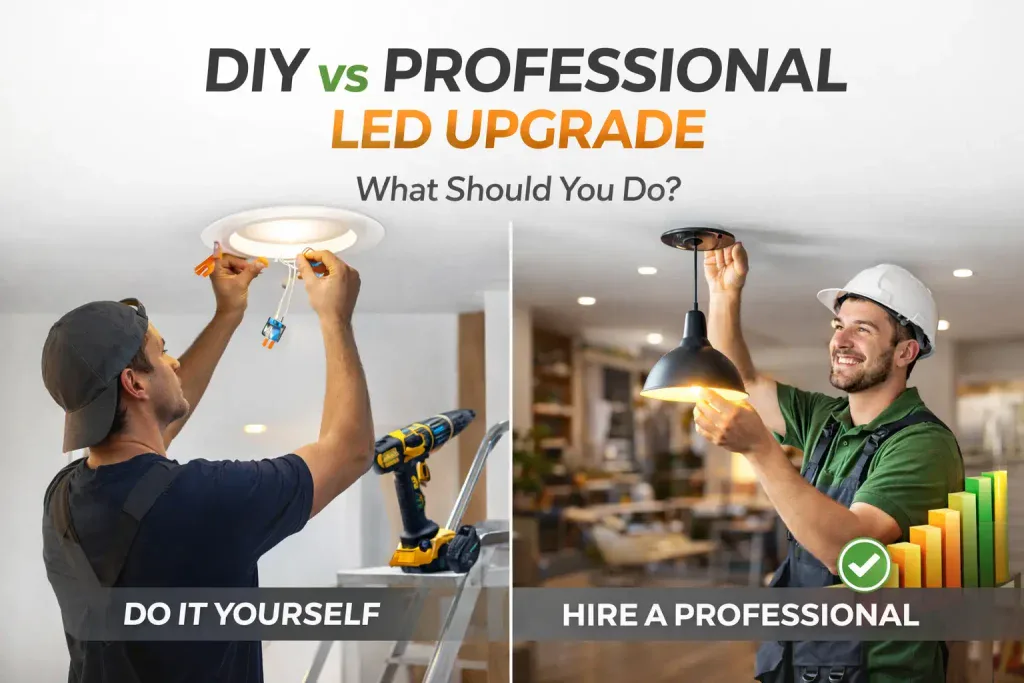
4. Decide How to Do Your LED Upgrade: DIY or Professional?
Be honest about what you can do. A residential LED upgrade involves electricity, and that isn’t something to mess with if you aren’t sure.
DIY is fine for:
Changing standard bulbs in reachable sockets.
Sticking up LED strips under kitchen cabinets using a plug-in power pack.
Setting up plug-in motion sensors for a hallway.
Call a pro for:
Anything involving cutting new holes in the ceiling.
Replacing old halogen transformers. These are heavy boxes in the roof that can be fire risks if they fail.
Installing new dimmers. LEDs draw so little power that old switches often won’t work with them.
5. Select the Right LED Specs
This is the part where people get confused. Forget watts. That’s just how much power the bulb uses. In a residential LED upgrade NSW, you need to look at the output.
Lumens: Lumens just mean brightness. Bedrooms don’t need much, so something around 400–800 is fine. Living rooms feel better a bit brighter, around 800–1,200. Kitchens need stronger light because you’re working there, so go higher, around 1,000–1,600. Bathrooms sit in the middle, while hallways only need low light so you can move safely without it feeling too harsh.
Kelvins (Colour): LED lights are available in a range of colour temperatures, but the most common for homes are warm white (around 3000K) and cool white (4000K–5000K). 3000K is “Warm White.” It’s yellow and cozy, perfect for bedrooms. 5000K is “Daylight.” It’s blue-white and crisp, best for a home office where you need to stay alert.
Beam Angle: For downlights, a narrow 40° beam is a spotlight. A wide 60° to 90° beam fills the room with light evenly. Using a wide beam stops the “cave” effect, where the tops of the walls stay dark.
6. Plan the Room Layout
Don’t just stick lights anywhere. A residential LED upgrade Victoria is your chance to fix bad lighting design.
Kitchen: You need “task lighting.” Place lights directly over the benches. If the lights are behind you, your head casts a shadow right where you are trying to chop vegetables.
Living room: Use dimmable lights. You want it bright for cleaning but soft for movie nights. This flexibility makes the room more comfortable.
Bathroom: Use a mix. Bright light near the mirror is best for shaving or makeup. However, you might want a softer light for a late-night bath so it doesn’t feel like an operating theatre.
7. Safely Remove the Old Gear
Don’t rush this part. Removing old lighting is where most DIY injuries or electrical shorts happen.
Kill the Power at the Mains: Don’t just trust the wall switch. If a previous DIYer wired the switch incorrectly, the socket could still be “live” even when the light is off. Flip the “Lighting” circuit breaker in your main switchboard to be 100% safe.
Let it Cool Down: Halogen bulbs reach temperatures over 200°C. They stay hot enough to burn skin for at least 15 minutes after they are turned off. Give them time to breathe before you grab them.
Use a Stable Ladder: Avoid standing on chairs or tables. Use a proper A-frame ladder and have a second person “spot” you. Most home accidents during a residential LED upgrade are actually falls, not shocks.
Handle CFLs with Care: If you have those old spiral “energy saver” bulbs, do not grab the glass. They contain small amounts of mercury. If one snaps, you’ll have a toxic cleanup on your hands. Always twist them by the plastic base.
8. Install Basic Bulbs
Start with the easy stuff to build momentum. These are your “quick wins” that don’t involve any wiring.
Match the Base to the Socket: Ensure your B22 (bayonet) or E27 (screw) matches perfectly. If it feels stuck, don’t force it; you might be trying to put a screw bulb into a push-and-twist socket.
Check the Fit: Some LED bulbs are slightly larger than old incandescents. Make sure the new bulb doesn’t touch the lamp shade or the glass cover of the fixture, as this can cause heat to build up and shorten the LED’s life.
Test the Colour Early: Install bulbs in one room and wait for sunset. If the “Daylight” 5000K bulbs make your living room look like a cold garage, swap them for 3000K “Warm White” immediately. It’s better to find this out now than after you’ve bought 40 bulbs.
9. Replace the Fixtures
This step moves from the bulb to the entire light unit. This is about updating the “face” of your home’s lighting.
Swap Oyster Lights for LED Panels: Old glass “oyster” lights trap heat and dead bugs. Modern LED panels are often sealed units, meaning no more climbing ladders to clean out fly spots and dust.
Verify the Mounting Bracket: Most new LED fixtures are much lighter than old glass and metal ones. Ensure the mounting bracket is screwed into a ceiling joist, not just the plasterboard, so it stays secure for years.
Check for Wire Clearance: When tucking wires back into a new fixture, make sure no copper is exposed, and no wires are pinched. A pinched wire can cause a slow “arc fault” that might trip your safety switch days later.
10. The Downlight Conversion
This is the most technical part of a free residential LED upgrade. This is where you remove the old halogen “fire hazards.”
Identify the Transformer: Old halogens have a heavy black or silver box hidden in the ceiling. These are inefficient and get very hot. A proper upgrade involves removing these entirely and replacing them with the slim “driver” that comes with your new LED.
Look for the IC-4 Rating: This is the most important safety label in Australia. An IC-4 rating means the light is “Insulation Contact” safe. You can pile ceiling insulation right over it without starting a fire. If it isn’t IC-4 rated, you have to leave a dangerous gap in your insulation that lets heat leak out of your house.
Measure the Cut-out: Most old halogens use a 70mm or 90mm hole. Measure yours before buying. If the new LED is too small, it will fall through; if it’s too big, you’ll have to spend hours widening holes in dusty plaster.
11. Test Everything Properly
Testing is about more than just seeing if the light turns on. You are looking for long-term stability.
The 10-Minute Burn: Leave the new lights on for at least ten minutes. If a driver is going to fail or a connection is loose, the heat generated in those first ten minutes will usually trigger the fault.
Watch for “Ghosting”: If the light stays on very dimly when the switch is off, your home has “induced current” in the wiring. It isn’t dangerous, but it’s annoying. A sparky can install a small “load bypass” capacitor to fix this.
Check Colour Consistency: Sometimes bulbs from the same box have slightly different tints. Look across the room. If one light looks slightly pink and the others look yellow, swap it out now while your tools are still out.
12. Fix the Dimmers
Old dimmers are the primary cause of “LED headaches” like buzzing or blinking/strobing.
Check the Minimum Load: Old dimmers often need at least 20 Watts to work. Since one LED only uses about 7 Watts, the dimmer “freaks out” because it thinks the bulb is blown. This is why you get flickering.
Install Trailing-Edge Dimmers: These are modern switches designed specifically for LEDs. They allow the light to dim smoothly from 100% down to 1% without any humming or flashing.
Test the Dimming Range: Some LEDs won’t dim all the way to zero. Find the “lowest stable point” on your dimmer and make sure the light doesn’t drop out or start flickering at that level.
13. Go Smart (Optional)
This is all about adding some convenience. You don’t need to do the whole house; just the high-traffic areas.
Add Motion Sensors to Pantries: A simple PIR (Passive Infrared) sensor means the light turns on when you open the pantry door and off when you leave. It’s perfect for when your hands are full of groceries.
Set Sunset Timers for the Porch: Use a smart switch or a photo-electric sensor so your outdoor lights turn on at dusk and off at dawn. It’s a great security feature that makes the house look lived-in.
Grouping Lights: Use a smart hub to group your lounge room lights. This lets you say “Movie Mode” to your voice assistant to dim all the lights at once, rather than walking around to three different switches.
14. Check Your Energy Savings
This is the “payday” for your free LED upgrade.
Read the Meter: Check your smart meter or your next bill. Lighting usually accounts for about 10% to 15% of a home’s power use. A full LED switch should drop that specific portion of your bill by about 80%.
Feel the Temperature: Walk around your home. You’ll notice that rooms with 10 downlights don’t feel like ovens anymore. This reduces the load on your air conditioner, saving you even more money in summer.
Long-Term Maintenance: Keep a log of when you installed the lights. A quality LED should last 25,000 to 50,000 hours. If one dies in six months, you know you’ve got a faulty unit and can claim it under warranty.
15. Fine-Tune the Ambience
Now that the technical work is done, it’s time to act like a lighting designer.
Adjust Beam Angles: If a downlight is glaring into your eyes while you sit on the couch, you might need to adjust its position or swap it for a light with a narrower beam.
Balance the Brightness: You might find that a hallway with four LEDs is now “too bright.” You can swap those for lower-lumen bulbs to save even more energy and make the transition between rooms less jarring.
Check for Glare: Look at your TV and computer screens. If you see a bright white dot reflected in the glass, move the light or use a “deep-recessed” LED that hides the bulb further up in the ceiling.
16. Know When to Call for Help
Don’t be a hero if things look messy.
Watch for Brittle Wiring: If you pull down a light and the wire insulation crumbles like a dry biscuit, stop. This is a sign of old “rubber” wiring that is a major fire risk. You need a full or partial rewire.
Burning Smells: If you turn on your new lights and smell “fishy” or “metallic” scents, turn the power off immediately. This is the smell of melting plastic or arcing electricity.
Multiple Tripped Breakers: If your safety switch (RCD) trips as soon as you flick the light on, you likely have a “neutral-to-earth” fault. A DIYer cannot find this without a specialized “Megger” tester. Call a pro.
17. Think About Long-Term Value
Your residential LED upgrade NSW is an investment in your property’s value.
Keep the Paperwork: Save your “Certificate of Electrical Safety” from your electrician. If you ever sell the house, this proves the work was done to Australian standards and is a great selling point.
Register Warranties: High-end LED brands often offer extended warranties if you register the purchase online. This can protect your investment for up to 7 years.
Buy Spare Bulbs: Lighting technology changes fast. If you buy a specific “tint” of warm white today, it might be discontinued in three years. Buy 2 or 3 spare globes now so your house stays consistent if one eventually fails.
Final Walkthrough
This is the “pro” finish.
The Night Test: Wait until 9 PM when it’s pitch black outside. Walk through every room. Does it feel “homey” or “industrial”? If it feels too cold, you might need to swap a few 5000K bulbs back to 3000K.
Check the Outdoors: Ensure your new LED security lights aren’t shining directly into your neighbour’s bedroom window. Aim them down and toward your own property.
Celebrate the Savings: You’ve officially modernised your home. Your house is now safer, cooler, and much cheaper to run.
The Takeaway
A residential LED upgrade works best when you take it step by step. Plan your lights properly, choose the right products, and be clear on what you can handle yourself and what needs a professional. That’s what makes the difference between a messy job and a proper result.
Don’t rush it. Small, correct decisions give you better lighting and lower bills for years. When it’s done right, you feel it every day in comfort and savings.
If you’re ready to upgrade, don’t guess your way through it. Get it done the first time properly. Contact the team at e-greenelectrical.com.au for a safe, efficient LED upgrade that actually reduces your power bills and improves how your home feels.
FAQs on Step-by-Step LED Upgrade
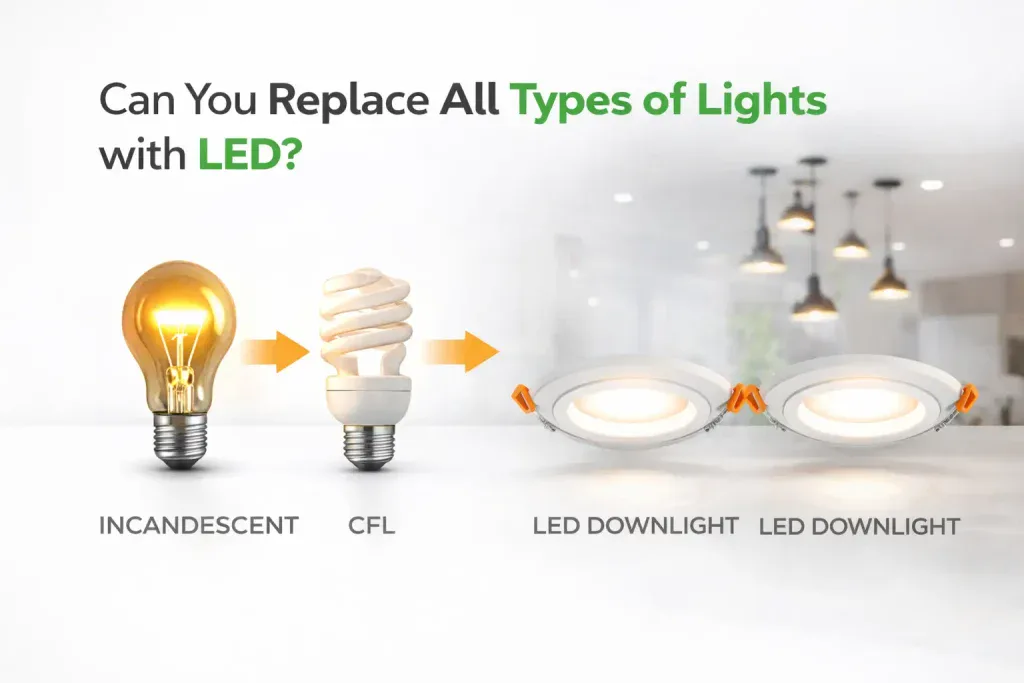
Can I change my lights to LED?
Yes. You can swap almost any light in your house. The main thing is matching the base. If your old bulb has a screw, buy a screw LED. If it has two pins, buy a two-pin LED. Most people start with lamps and then move to the ceiling. It is the fastest way to drop your power bill.
Do LED lights require special wiring?
No. They use the same copper wires already in your walls. You don’t need to rip anything out. The only catch is if you want fancy dimming or smart strips. For a normal bulb, just plug it in. The tech inside the bulb handles the rest.
Do I need to change the transformer from halogen to LED?
Usually. Old halogen transformers are built for heavy loads. LEDs use so little power that the old transformer might not “notice” them. This makes the light flicker or hum. Swapping to a dedicated LED driver is a smart move. It keeps the light steady and helps the bulb last for years.
How to go from halogen to LED?
Check your fitting first. If it is a GU10 twist-lock, you just swap the bulb. If it is a 12V MR16 with two pins, you have a transformer in the ceiling. The best way is to pull out the whole old unit. Put in a new, sealed LED downlight instead. It is cleaner and much safer.
Can I put LED bulbs in halogen fittings?
Yes. As long as the pins match, it works. LEDs run cool, so they won’t damage the old plastic or metal. Just make sure the LED bulb isn’t too big to fit inside the housing. Some LEDs have big heat sinks that can be a tight squeeze.
Do you need a special socket for LED bulbs?
No. They are built to fit the same sockets we have used for decades. B22 bayonets and E27 screws are the standard. You only need a new socket if the old one is burnt. Old halogens often cook the plastic, making it crumbly. If it looks brown, replace it.
Can you put LED bulbs in normal fittings?
Definitely. Pendants, floor lamps, and wall lights all love LEDs. The only “normal” spot that causes grief is a fitting on an old dimmer. If the dimmer is twenty years old, it won’t know how to handle the low draw. You might need a new switch to stop the flickering.