
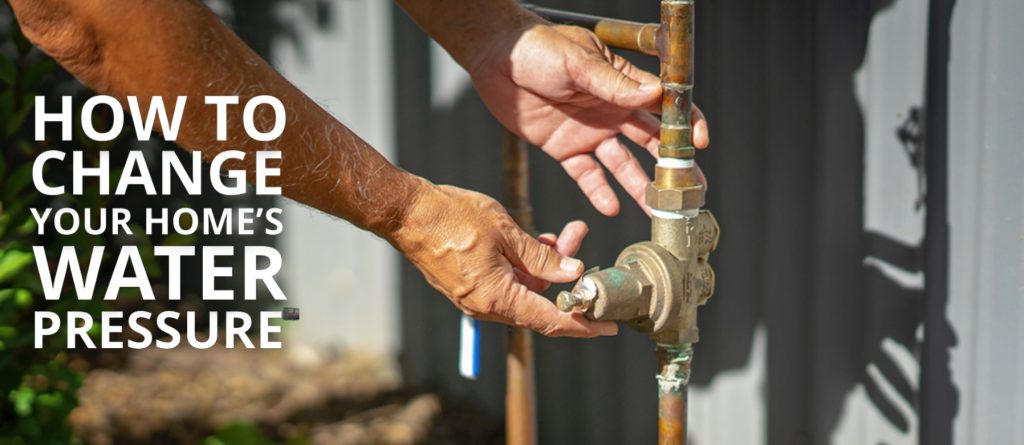
Looking to boost the water pressure in your house? Our guide provides simple tips and tricks for increasing water pressure […]
Learn how to fix a leaking shower with our step-by-step guide. Stop the annoying drip and prevent water damage with these easy DIY tips. Save money and avoid the hassle of hiring a plumber.
A leaking shower head is annoying and wastes a lot of water. If a constant dripping noise isn’t irritating enough, then maybe knowing that you can waste up to 5,500 liters of water each year, and the water bill excess that follows, might be enough reason to look into this problem.
What’s even worse, if the leak is from a shower valve, it may also be leaking behind your bathroom walls.
Over time, the leaking will lead to mold, dry rot, and structural problems, which are expensive, require substantial repair and can be dangerous .
Before you consider calling a professional, you should attempt to tackle the problem to try to fix it yourself. Common household problems are generally relatively easy to repair, and this step by step guide will walk you through potential measures to fix the problem.
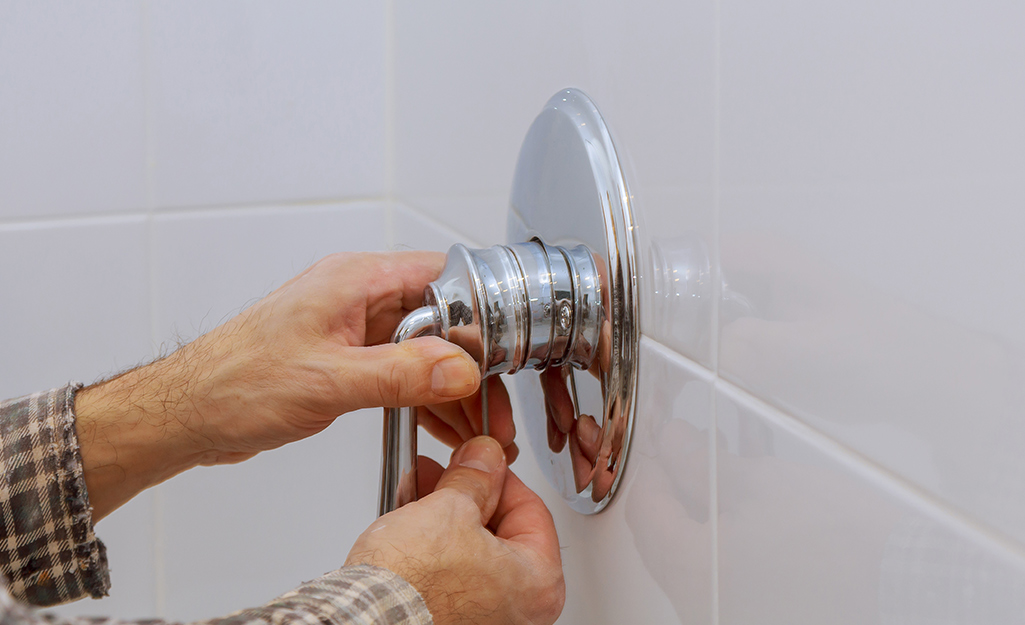
This is the first step in fixing a leaking shower head. Before you embark on any repair work, you must ensure that the main water supply to the whole house is cut off. However, if your shower has an accessible shutoff valve in the access panel, you can use it instead of shutting the water supply in the whole house.
After you turn off the water supply to the shower, ensure you cover the drain hole to prevent the items and pieces removed from the shower from falling into the hole.
Unscrew your showerhead from the pipe using your hands; if the showerhead is stuck, you can use pliers. Make sure you proceed carefully with the repair, because if your shower is old, applying too much force may break the head
Check on the threads inside the showerhead for a minor plastic washer to see if it is worn and torn, which is typical for showers after long use. Wear and tear may be one of the reasons your showerhead is leaking, and this could be an easy problem to identify and fix.
If you notice the shower handle leaking, then the problem may be the seal between the shower ram and the showerhead. Washers and O-rings can harden over time and can even split, causing water to leak.
Shower heads with swivel connections that have a seal behind the swivel assembly often cause the washer to break over time e. Always carry the older plumbing seal with you if you plan to buy a new one in order to get the exact match from the hardware store.
While the shower head is off, it is a great idea to clean it, especially if you have noticed a dwindling water flow. More often, mineral deposits or sediments can be left on the interior of the showerhead due to hard water.
The deposits block the pipe stem and negatively impact the water flow and pressure, leading to a leaky showerhead. To properly wash your showerhead, you can follow the following procedure:
If you have a compression faucet but notice that the leaking persists, the next thing to do is replace the faucet washer.
Compression faucets have two handles, hot and cold and the washer can wear over time, and eventually start leaking if not replaced in due time. You can verify which line is leaking by checking the temperature of the water.
Once you determine which valve is leaking, you should remove it. It would be best to unscrew the valve first, to allow the excess water out.
Then you will need to slip off the cover trim to access the faucet stem, then remove the nut in order to locate the rubber washer using a deep socket wrench. Finally, replace the old rubber washer and reassemble the faucet using a new rubber washer.
During the process, if you notice that the small curved area behind the washer is badly damaged in a way that it cannot tightly hold a new washer, and may not prevent leaking of the shower head, you will need to call a plumber to replace the entire assembly.
In case you have already replaced the washer but the showerhead is still failing to stop the leakage, consider replacing the cartridge located in the valve body. The shower cartridge is made of hard plastic that helps regulate the hot and cold water flow to the showerhead.
An old and worn out cartridge may crack over time, causing water to leak through even when the handle is in its position, and ultimately causing water to drip from the showerhead.
To replace a worn cartridge, you should cut the water supply to the shower. Then proceed to remove the shower handle, the shower valve trim and the cap covering the valve body stem in this order, in order to reveal and remove the plastic cartridge.
Make sure you get a new cartridge that is an exact match to the old one from the hardware store, in order to match the dimensions and solve the leakage issue.
A vital next step involves wrapping the threads on the pipe stem with a tape. With time, the Teflon plumber’s tape may wear out, creating gaps that may cause leakage if not replaced in due time.
Start by removing the worn-out tape from the pipe stem, which can be easily done as it still retains some sticky residue on the surface.
After removing it, clean the remaining residue using an old toothbrush. Ensure you retape sparingly, and you can even wrap a thin strip around the thread at the tip of the pipe stem as long as you do not overdo it.
The next step requires reattaching your showerhead back. This is done k by screwing the showerhead with your hands until it’s tight enough for a hand twist.
Use pliers to ensure a final and firmer twist that locks it in place, however, be careful with the tools so as not to break the showerhead or the pipe.
If after reattaching the showerhead you still notice water leaking, then it is time to change the showerhead. Ensure the new showerhead has the same dimensions and specifications as your current one for a simpler and smoother installation.
However, if the shower arm does not match the new showerhead, you will also have to replace the shower arm.
Unscrew the old shower arm, and wrap the thread of the new shower arm with a plumber’s tape. Next, tightly screw the new shower ram into the wall, making sure it fits well , and seal the opening using plumber’s putty.
Once fixed, wrap the shower ram base threads with a tape, and attach them to the new shower head. Make sure you tighten the connections, without overdoing it, in order to avoid breaking the shower ram or the showerhead.
After carefully finalizing the installation, you can turn on the water and allow your shower to run for a few seconds. Turn it off, wait for a few minutes and check if there still is a leak. If you have followed all the steps detailed in the sections above, your shower should run properly with no issues.
In case you notice no changes on the showerhead and water is still dripping, it might be best to call a professional to address the issue.
➜ Bacteria thrives in your bathroom and can infest your shower head unless you pay enough attention to clean it well and replace it frequently. You should change the showerhead every 6-8 months.
➜ Sediment buildup- it may take time to notice sediment buildup, and most people pay attention to the buildup once the water pressure is reduced. Some cleaning solutions may help you get rid of the sediments, but if your showerhead is past six months, replacing it is a good idea.
➜ Black mold- you can easily identify black mold by noticing the appearance of black spots on your showerhead. When the black mold spreads , it will take more time and energy to clean it.
Changing your showerhead at the right time and thoroughly and regularly cleaning it will ensure you do not suffer from black mold in your bathroom. To protect your showerhead, ensure it is rinsed off well by running hot water for about six minutes.
Final Thoughts
To avoid limescale buildup on your shower: ensure you clean your showerhead regularly with hot and soapy water using a soft fiber cloth. Cleaning the showering device along the grain of the scratch pattern is also advisable to avoid damage.
After cleaning, it is recommended to thoroughly rinse your showerhead with water. Can your shower head drip for a few minutes after you use? Yes, because when you turn off your shower, a buildup of water remains, which needs to get out, and therefore will drip for some time after use.
Looking to boost the water pressure in your house? Our guide provides simple tips and tricks for increasing water pressure […]
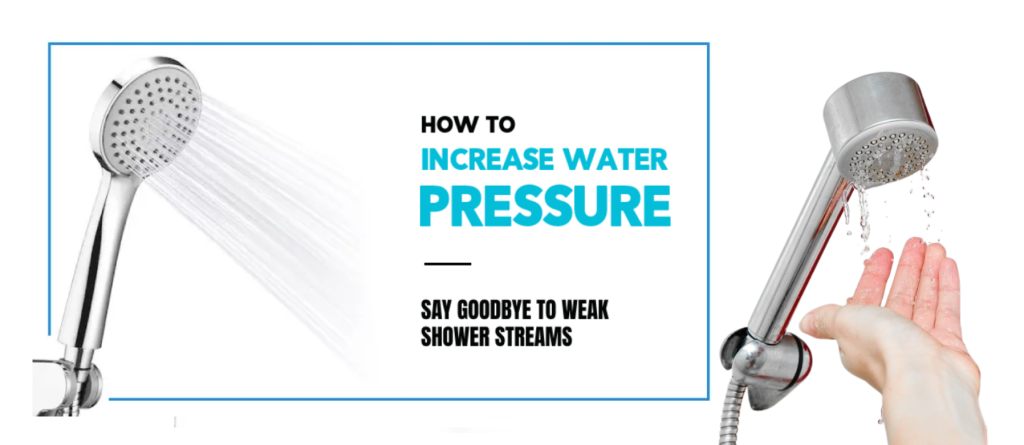
Learn the easy steps to increase the water pressure in your shower. From checking for clogged pipes to installing a […]


Our energy efficiency experts are here to answer all your questions and guide you through the products, rebates, and installation process.

Upgrade now and pay later with the Home Energy Saver Program ![]()