

Sydney homeowners are seeking ways to reduce their power bills. With the sun beating down on New South Wales, the […]
Staring at a dark, dated ceiling is depressing. If you’re still living with those old, dust-collecting oyster lights or flickering halogens, it’s time for an upgrade.
LED Downlights change the entire vibe of a home, but the price tag can be a bit of a moving target. You might spend $5 on a basic bulb or $500 on a designer fixture. Then there’s the labour. Here’s the straight talk on what you’ll actually pay to get the job done in 2026.
The Quick Answer
Expect to pay between $75 and $300 per light for the installation alone. For the fixtures, budget anywhere from $5 to $500, depending on how fancy you want to get. Most homeowners land somewhere in the middle.
Warning: Don’t try to DIY this. In Australia, any electrical work involving your home’s wiring must be done by a licensed professional. If you DIY it and your house burns down, your insurer will laugh at your claim.
It’s not just the light in the box. Your final bill depends on three big factors: the fixture style, the complexity of your ceiling, and the electrician’s workload.
Fixture Costs
Basic, fixed downlights are cheap, think $5 to $50. If you want gimbals that tilt or “wall wash” lights that highlight your expensive art, prices jump. High-end architectural models can hit $500.
Labour Rates
Most licensed electricians charge around **$125 per hour**. Some offer a flat rate per light if you’re doing a whole house. Expect a 10% to 40% markup on materials if they supply the lights for you. It’s the price of a warranty.
The “Ceiling Tax”
If your electrician has easy access via a manhole and plenty of crawl space, the job is fast. If they’re fighting through thick insulation or trying to fish wires through a concrete slab? Prepare to pay more.
Get a FREE Quote on LED UpgradeThese are the “set and forget” workhorses of the lighting world. A fixed downlight shines steadily in one direction, usually straight down, providing a consistent and even glow across a room. They are the most budget-friendly option for general areas like hallways, laundries, or large open-plan living rooms where you just need reliable, uniform light.
Pros: Most affordable, easiest to install, creates a clean and minimalist look.
Cons: Non-adjustable beam; can create “flat” lighting or glare if positioned poorly.
If you’re chasing that ultra-clean, architectural look, recessed lights are the way to go. These fixtures sit flush with your ceiling or sometimes slightly tucked inside it to create a seamless profile. They require a specific cutout in the ceiling to house the canister, making them ideal for modern homes with lower ceilings where you want to maximise space.
Pros: Perfectly flush finish, makes rooms feel taller, and hidden wiring.
Cons: Requires professional cutting and clear ceiling cavity access; can be pricier for labour.
Gimbals are for people who want control. These lights allow you to pivot the internal bulb, directing the beam at a specific angle rather than just letting it drop to the floor. They are the gold standard for kitchens, where you can angle the light directly onto your benchtops so you aren’t chopping onions in the dark.
Pros: Maximum flexibility, perfect for task lighting or highlighting artwork.
Cons: Slightly higher fixture cost; can look “busy” if too many are used in one room.
Wall wash fixtures are designed to “wash” an entire wall with a soft, even spread of light. This isn’t about seeing what’s on the floor; it’s about creating vertical brightness that makes a room feel wider and more inviting. They are popular in offices or high-end residential entries to accentuate textures on stone or timber feature walls.
Pros: Eliminates harsh shadows, makes small rooms feel much larger.
Cons: Placement is extremely critical; it requires professional lighting design to get the effect right.
Similar to a gimbal but with a more pronounced swivel design, the “eyeball” light is the ultimate problem-solver for weirdly shaped rooms. These can be rotated and angled to a high degree, allowing you to change your lighting layout on the fly if you move your furniture or art.
Pros: High range of motion, great for dramatic spotlighting.
Cons: More moving parts can mean more maintenance; the “eyeball” design sticks out more than flush options.
Fixed: Best for hallways; cheapest option.
Recessed: Best for modern, flush aesthetics.
Gimbal/Eyeball: Best for task lighting and art.
Wall Wash: Best for making small rooms feel big.
The quote for “10 downlights” rarely covers the full reality of a renovation. Keep an eye out for these extras:
Smart Upgrades: Want to dim your lights from your phone? That’s an extra $18 to $75 per switch.
The Big Rewire: If your home’s wiring is from the 70s, it might not handle a new circuit. A full kitchen rewire can tack on $1,800.
Dimmer Switches: Not all LEDs dim properly. You’ll need compatible switches and bulbs, which cost more upfront.
Note: LEDs are non-negotiable. Yes, they cost more than old halogens, but they last 10x longer and won’t make your electricity meter spin like a Beyblade.
Don’t just hire the first person who picks up the phone. Electrical quotes vary wildly depending on how a business is structured. One guy might give you a rock-bottom “per light” price, but then sting you with “travel fees” or “material disposal” costs later.
Another might seem expensive upfront, but it includes premium Clipsal switches and a five-year labour warranty. Ask for an itemised breakdown, so you aren’t comparing apples with oranges.
Don’t just guess where the lights should go while standing in a bright room during the day. Walk through your house at night with a torch to see where the natural “dead zones” are. Think about how you use the space, you’ll want task lighting directly over the kitchen bench so you aren’t chopping veggies in your own shadow. A common mistake is putting downlights too close to the walls, which creates a “scalloping” effect that highlights every tiny bump in your plasterboard.
It’s easy to fake a Google review, but it’s much harder to fake a consistent reputation. Spend five minutes looking for photos of their previous work. You’re looking for straight lines and clean finishes. More importantly, verify their license number on the local fair trading or building commission website. A “cheap” unlicensed installer might save you a hundred bucks today, but if they cause a short circuit, your home insurance will likely walk away from the claim.
Fitting and installing downlights doesn’t have to be a headache if you know the numbers. List your must-haves, get your quotes in writing, and stick to licensed pros. Once those new LEDs are in, you’ll wonder why you ever lived in the dark.
Sydney homeowners are seeking ways to reduce their power bills. With the sun beating down on New South Wales, the […]
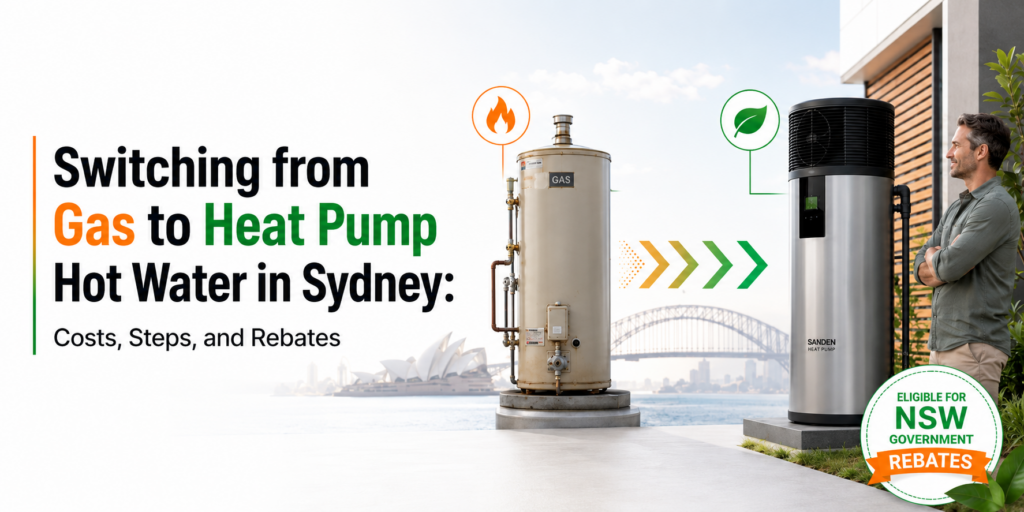
Swapping a gas hot water system to a heat pump is becoming a huge topic of conversation around Sydney dinner […]

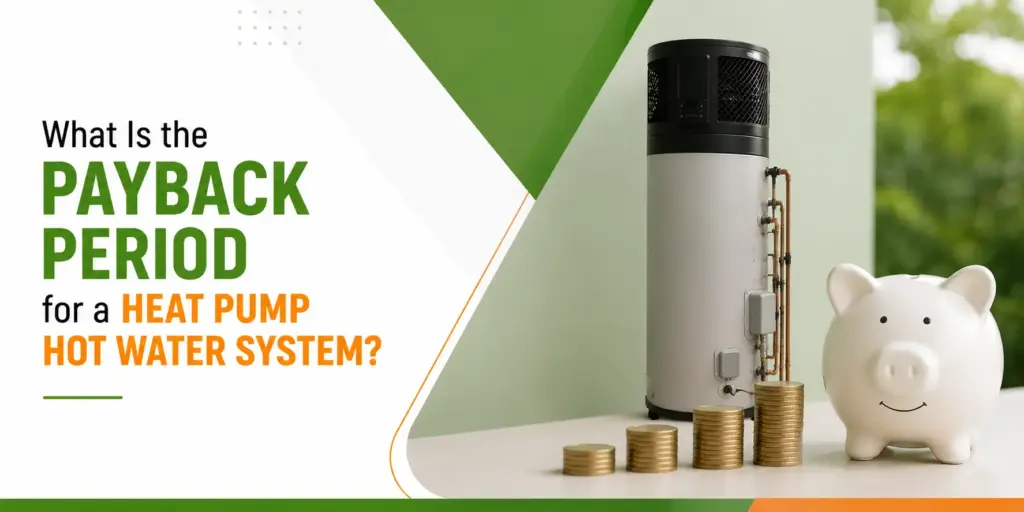
Spending over $4,000 on a home appliance is a big deal. It is a commitment that makes most homeowners pause. […]
Let’s get straight to the point. You aren’t here for a lecture on thermodynamics or evaporation cycles. You’re here because […]


Our energy efficiency experts are here to answer all your questions and guide you through the products, rebates, and installation process.

Upgrade now and pay later with the Home Energy Saver Program ![]()