


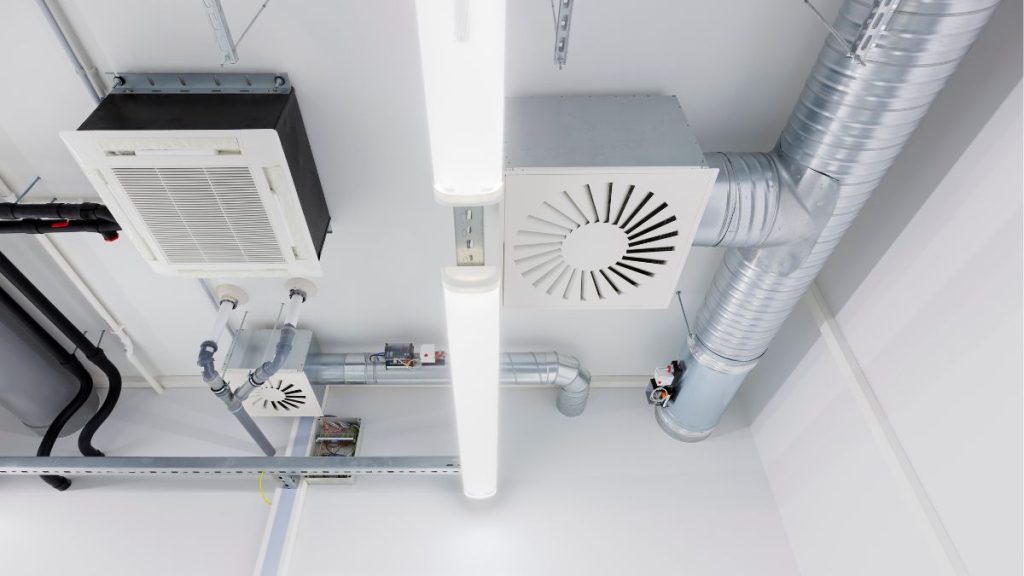
Can you believe that close to 50% of your energy bills are due to your home heaters and coolers? The […]
Learn how to install a water line for your refrigerator with our step-by-step guide. Avoid costly mistakes and ensure your fridge has access to clean, fresh water. Get started today!
A water line is essential for the operation of a refrigerator and often runs to many rooms within the home.
When choosing where to install your water line, it is important to choose an area that’s easy to get to and doesn’t have any obstructions (like electrical cords or heat sources) that can cause potential leaks.
Also read; How to Light Your Hot Water Heater Pilot Light
Find out what size pipe you need and take measurements
It is important to know what size of pipe will fit into your plumbing setup so make sure to measure before you start any work.
There are three sizes typically used for installing refrigerator lines, 3/4″ (which can be found at most local hardware stores), 1/2″ or 5/8″. If you have a long run, you may want to use a 1/2″ sleeve (which only comes in 10′ rolls) to conserve shipping costs and pipe size.
Cut the pipe according to your measurements
When cutting your pipe, try to keep the 1/2″ or 5/8″ form of the pipe on all four sides of the cut. You will want to ensure that the wall mounted cold water line has enough room for air gaps in between it and the pipe. This is very important for preventing leaks in your system.
Installing the pipe
Install the pipe according to your home layout, as you may need to add additional length to your cold water line.
This will most likely be about 12″ for every foot of pipe that connects to the spigot. If you have a standard wall mounted spigot and cap, you may need another foot (or 2) of pipe attached to it or you will have no way to shut off the water.
Also Read: How to Install a Hot Water Electric Heater?
Turn on the cold water supply
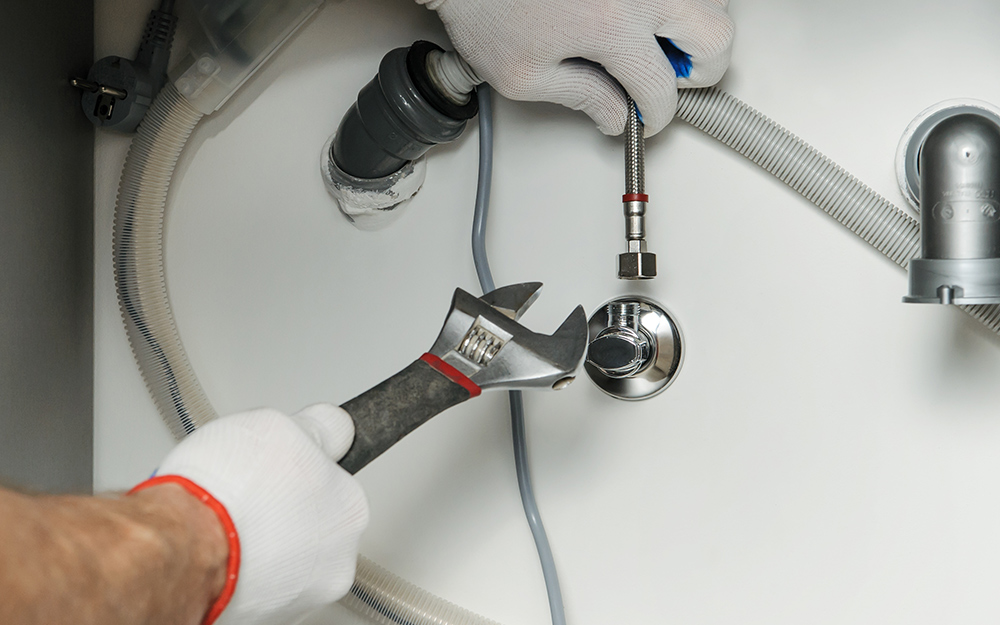
Using a T-connector (which will not be included in the kit) connect your new cold water line to your existing shut-off valve attached in your basement. Make sure that the valve is turned on. If it is not, turn on the shut-off valve attached to your water service line.
Connect the ground in case of leaks
Using a piece of vinyl tubing, connect the ground wire to your basement wall (while still connecting the T-connector with one loop of vinyl around it). This will be your connection point where you can connect another piece of vinyl tubing to shut off the water source. This will be used if you have any leaks in your system.
Attach the pipe to the wall
Depending on how much weight your wall can support, choose which side of the house you would like to place your cold water pipes.
Make sure that the pipes are located above the ground and are secure enough not to fall over. If you have children playing near the refrigerator, make sure that no water or supplies can easily be reached by them.
Install shut-off valve
While attaching cold water line to vinyl tubing, attach a T-connector with a length of vinyl tubing attached to it on one of the ends (or both if you wish).
Attach the other end of the line to the valve and then turn on the water and give it a minute or two to get warm. This step is very important in case you ever have a leak in your system.
Make ice, fill your water jugs, or refill your water cooler
Now that you have your water hooked up you are ready to take advantage of the convenience of cold water in your refrigerator, ice maker and other appliances.
If you have a refrigerator with a water dispenser, remember that the pipe must be primed with water first.
Fill the water dispenser with about 6–8 cups of water for an initial fill and close the dispenser door. Refrigerators without this feature can simply be filled up with a pitcher or jug.
Check for leaks using a piece of vinyl tubing
Using a small piece of vinyl tubing, test the area surrounding your refrigerator as well as the areas on all sides of your wall to check for signs of leaks.
If you suspect there may be a leak, turn off the shut-off valve attached to your water service line and then turn on your sink faucet to see if there are any drips in the sink.
Enjoy your cold water
Once you have ensured that there are no leaks and that the water is not going to damage anything in your home, enjoy having cold water at every tap.
Remember, to turn off the valves attached to the water service line and faucet when not in use.
If you use a lot of cold water throughout the day, you may want to add a small air gap between your cold water line and your pipe so it doesn’t freeze during colder temperatures.
You can easily install this yourself by sliding a sleeve over your pipe and screwing it into place. Sleeve size will vary depending on pipe size.
Also Read: 10 Ways To Increase Water Pressure in Your House
The process of installing a water line for the refrigerator is not very difficult and it will not cost a lot. You can save more money by buying a kit that contains the required components such as fittings, levers and so on.
The first step of this process is to find out what size of pipe you need by taking measurements. Then, you must cut the pipe accordingly before you go ahead and attach it with other pieces of PVC pipes.
The next step is to attach the cold water line into the wall as per the instructions.
Then, you should also connect the ground wire in case of any leaks. The rest is up to you. You can take advantage of cold water and save some money on your utility bills by installing a water line for the refrigerator.
Can you believe that close to 50% of your energy bills are due to your home heaters and coolers? The […]
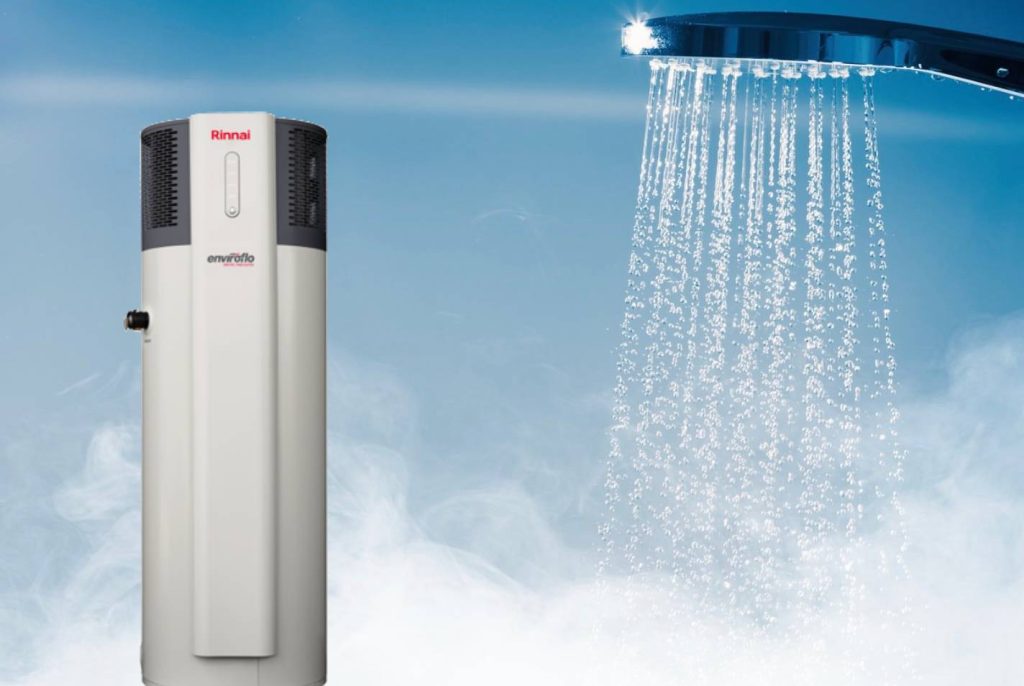
Heat pump water heaters (HPWHs) have gained considerable attention in Australia due to their energy efficiency, cost saving potentials, and […]
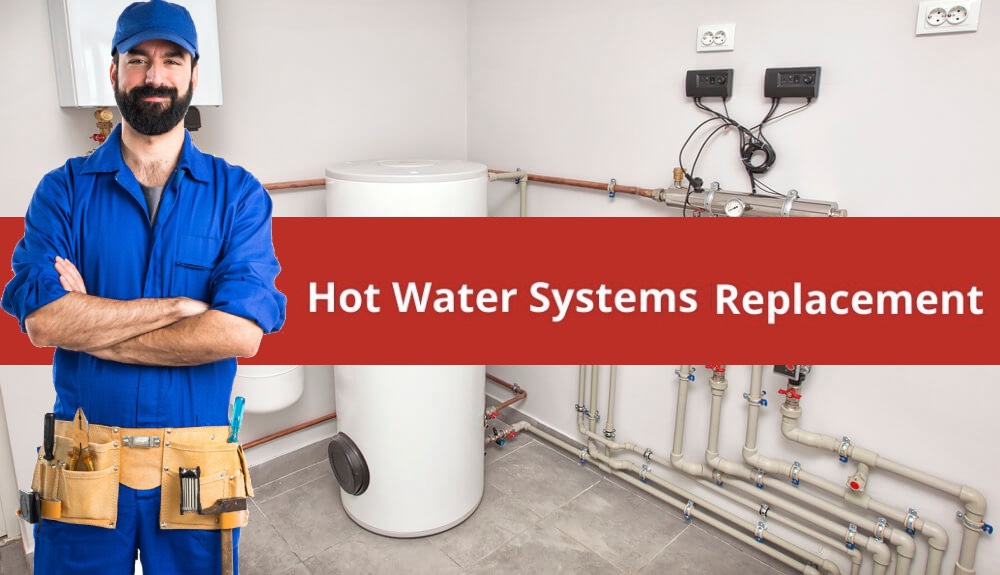
Are you tired of constantly running out of hot water or dealing with a noisy and inefficient hot water system […]

The thought of summer may bring dread of those sticky, sweltering days. However, thanks to technological advancements, you can now […]


Our energy efficiency experts are here to answer all your questions and guide you through the products, rebates, and installation process.

Upgrade now, pay later with ![]()