
Getting an energy rebate shouldn’t feel like you’re doing a tax return. In New South Wales, the government is practically […]

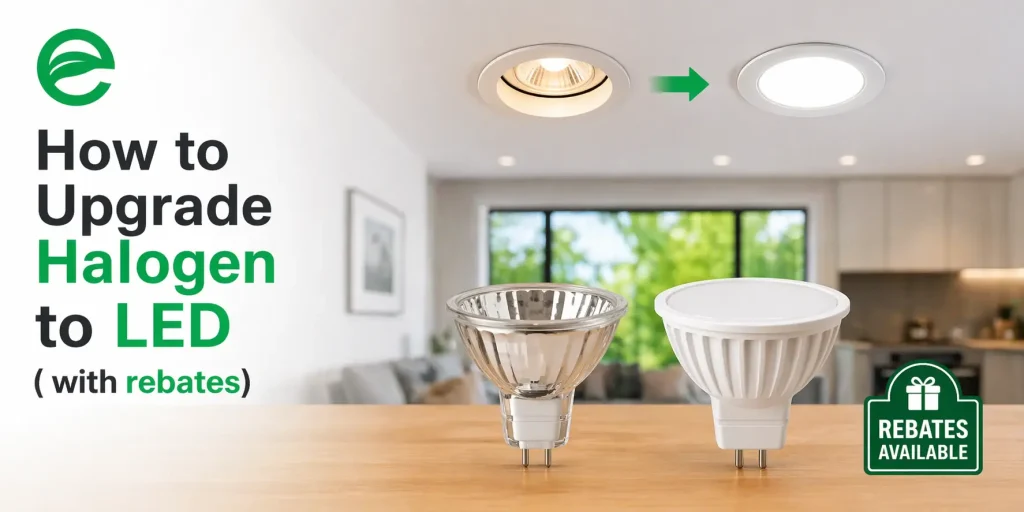
LED lighting has gained immense popularity in recent years due to its energy efficiency, longevity, and superior light output quality. As a result, many people are now trying to replace their traditional fluorescent lights with LED alternatives.
In this article, we will guide you through the process of replacing fluorescent lights with LED and will provide you with valuable insights and step-by-step instructions.
Before diving into the process of replacing fluorescent lights with LEDs, it is essential to understand how fluorescent light fixtures work.
Fluorescent lights consist of a long tube filled with mercury vapour that emits ultraviolet light when electricity passes through it.
This UV light interacts with a phosphor coating on the inside of the tube, causing it to emit visible light.
Fluorescent lights require a ballast to regulate the flow of electricity and ensure proper operation.
When it comes to choosing the right LED type to replace fluorescent lights, there are a few factors to consider. Firstly, you need to identify the type of fluorescent light you currently have, as there are different sizes and shapes available.
The most common types are T8 and T12 tubes. Once these are identified, you can select the corresponding LED replacement.
It is essential to ensure that the LED replacement has the same pin configuration as the fluorescent light fixture. This will ensure a proper fit and a simple installation.
Additionally, check the colour temperature and brightness level of the LED replacement that can most suitably match your lighting requirements. LED lights come in various colour temperatures, ranging from warm white to cool daylight.
Replacing fluorescent lights with LED can be a straightforward process if you follow these step-by-step instructions:
Before performing any electrical work, always turn off the power supply to avoid the risk of electric shock. Locate the circuit breaker that controls the fluorescent light fixture and switch it off.

Once the power is off, carefully remove the cover or diffuser lens from the fixture. This will expose the fluorescent tube(s) and the ballast. Gently twist and remove the tube(s) from their sockets, ensuring not to break them.
In order to install LED lights, the ballast needs to be removed. Cut the wires connecting the ballast to the fluorescent light fixture, but leave enough wire length for easy connection to the LED driver or directly to the LED light fixture.

If your LED lights require a separate driver, connect the wires from the driver to the fixture’s electrical connections. Ensure that the polarity is correct and that the connections are secure. If your LED lights have an integrated driver, skip this step.
Insert the LED light tubes or fixtures into the sockets previously occupied by the fluorescent tubes. Make sure they are fixed securely in place and properly aligned.
Before fully securing the LED fixtures in their final position, turn the circuit breaker power back on at the circuit breaker. Test each fixture to ensure it illuminates properly.
Check for any flickering or unusual behaviour, which may be the result of loose wiring or a faulty connection. If everything functions as expected, proceed to the next step.
Once you’ve confirmed that the LED fixtures are working properly, secure them in their final positions using the appropriate accompanying hardware. Tidy up any excess wiring and discard any packaging or debris from the installation area.

Dispose of the old fluorescent tubes and ballast according to local regulations. Some areas may require specific disposal methods due to the presence of hazardous elements inside fluorescent bulbs and ballasts.
Check with your local waste management authority for guidance on proper disposal procedures.
With your fluorescent fixtures successfully replaced with LED alternatives, you can now enjoy the benefits of energy-efficient and long-lasting lighting.
LEDs not only consume less energy but also produce a higher quality light with improved colour rendering and reduced maintenance requirements.
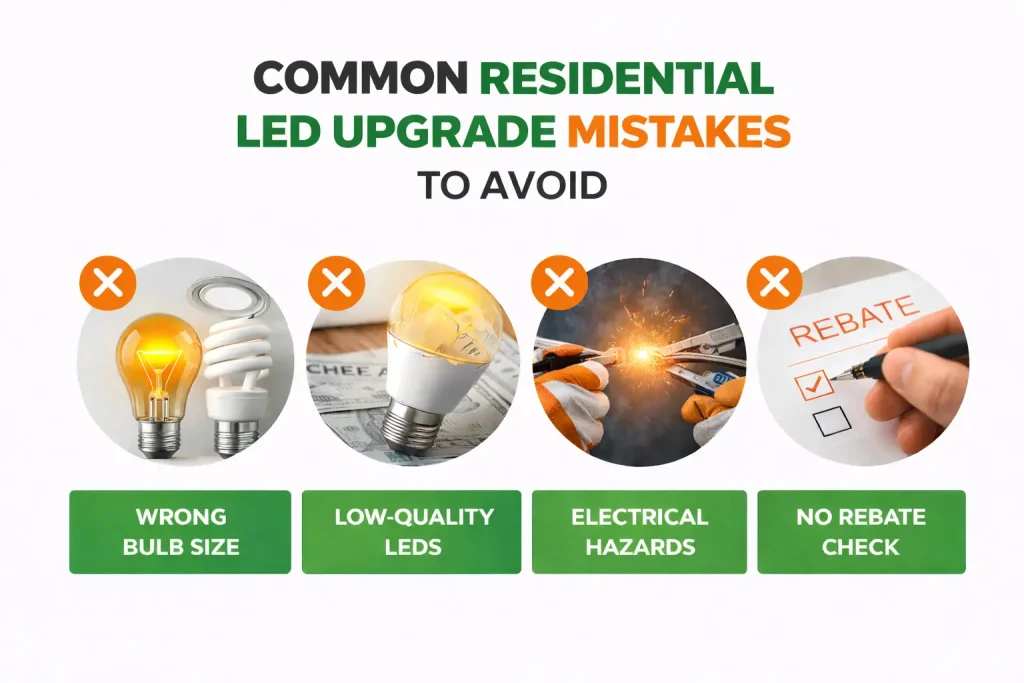
Even though replacing fluorescent lights with LED is a relatively straightforward process, there are a few common issues and problems that may arise. Below are some troubleshooting tips to help you overcome these challenges:
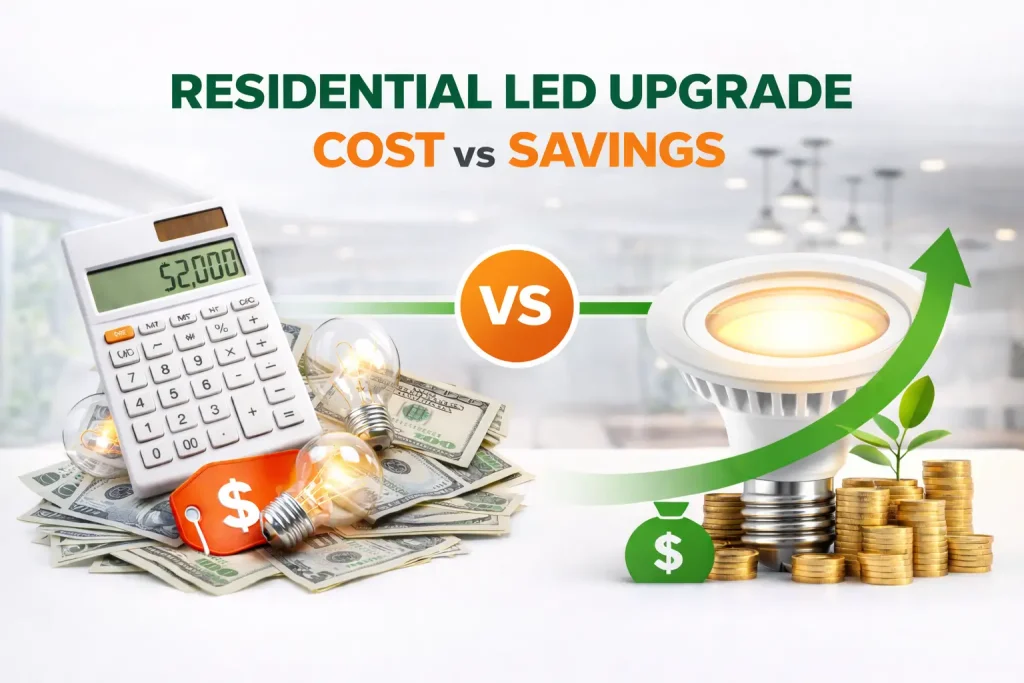
Replacing fluorescent lights with LED alternatives is a cost-effective and environmentally friendly choice that can enhance the lighting quality and energy efficiency of your space.
Following the step-by-step guide and troubleshooting tips provided in this article, you can successfully make the transition to LED lighting.
Enjoy the benefits of longer-lasting, energy-efficient illumination while reducing your carbon footprint. Upgrade your lighting today and experience the difference LED can make.
Getting an energy rebate shouldn’t feel like you’re doing a tax return. In New South Wales, the government is practically […]
Electricity prices in some Australian states are rising to over 40 cents per kWh, and we are all busy now […]
Did you know that around 10% of your household electricity budget goes to lighting? It’s such a huge bill that […]

So, you are fed up with the old light bulbs that keep flickering, increasing your electricity bills, and failing when […]
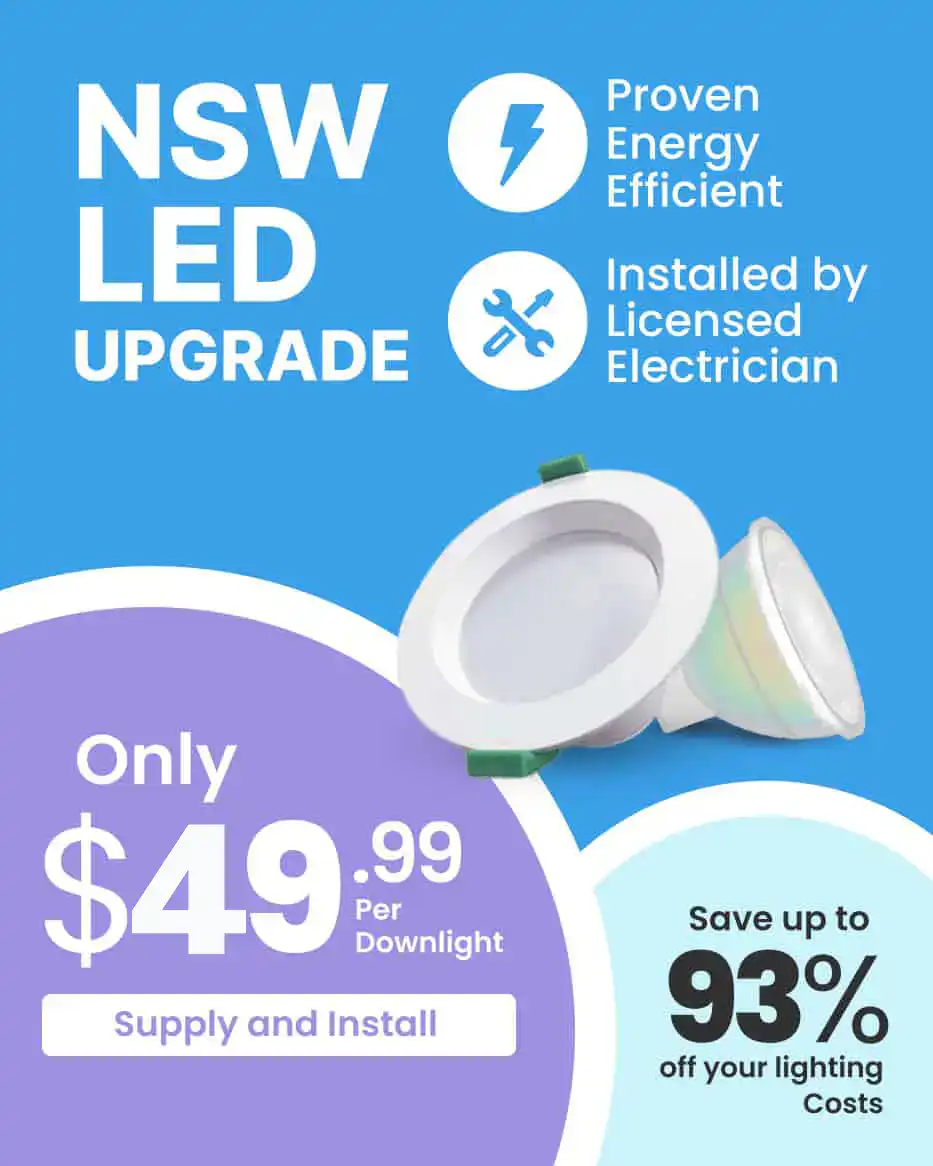


Our energy efficiency experts are here to answer all your questions and guide you through the products, rebates, and installation process.

Upgrade now and pay later with the Home Energy Saver Program! ![]()